
Follow these steps in the off-season to keep your travel trailer or touring coach in good shape for your next adventure.
Keeping your trailer or touring coach in top condition during the off-season isn’t just about maintenance—it’s about making sure you can hit the road quickly and confidently when camping season returns. A little preparation now pays off later, helping protect your investment, prevent avoidable issues, and ensure your next adventure starts without delay.
When winterization season arrives, owners in northern climates need to prepare their trailer or touring coach before temperatures drop below freezing. October tends to be when most Airstreamers in these areas go through the process. You can always have a dealer handle the details, but with the right tools, it’s a straightforward job to tackle yourself. And you’ll likely learn a little more about your Airstream as you go.
Winterization
You can always have a professional—such as an authorized Airstream dealer—winterize your travel trailer or touring coach, but the process is far less intimidating than it might seem at first. With a few basic tools and a little preparation, you can save the cost of winterization services (often $200 or more) and handle it yourself. Our step‑by‑step guide walks you through draining the plumbing system, flushing the freshwater tank, and finishing with RV antifreeze, so your Airstream stays protected all winter long.

Why Winterize Your Airstream
Fully winterizing protects your trailer for spring adventures. Removing water from the plumbing system, including pipes, the water heater, and water pump, helps prevent frozen pipes, cracked fittings, and costly repairs. It also prepares your trailer for storage by securing seals, seams, and plugs and shutting down electrical systems.
When to Winterize Your Airstream
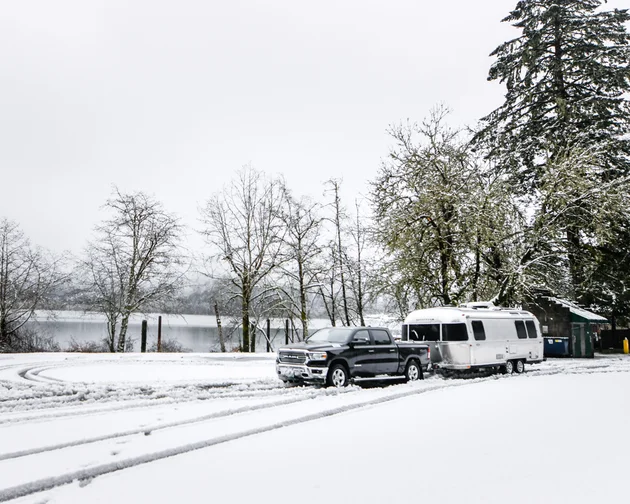
Winterize before sustained freezing weather arrives. In colder regions, this typically happens in October. Some Airstreamers “winterize for use,” clearing water lines and using RV antifreeze while keeping batteries installed to continue winter camping without normal plumbing use. Others fully winterize and store their trailer until spring.
The Best Way to Winterize an Airstream
There are two methods, sometimes used individually or together depending on how much work you want to do: use an air compressor to blow out the water, or pump RV antifreeze through the plumbing system. Both approaches work—the goal is simply to remove water before it can freeze. Before choosing a method, understand where water lives in your trailer: sinks, shower, toilet, tanks (fresh, grey, black), water heater, refrigerator, and pump. Every one of these components must be cleared. The RV antifreeze method adds another layer of protection.
Step 1: Drain and Flush
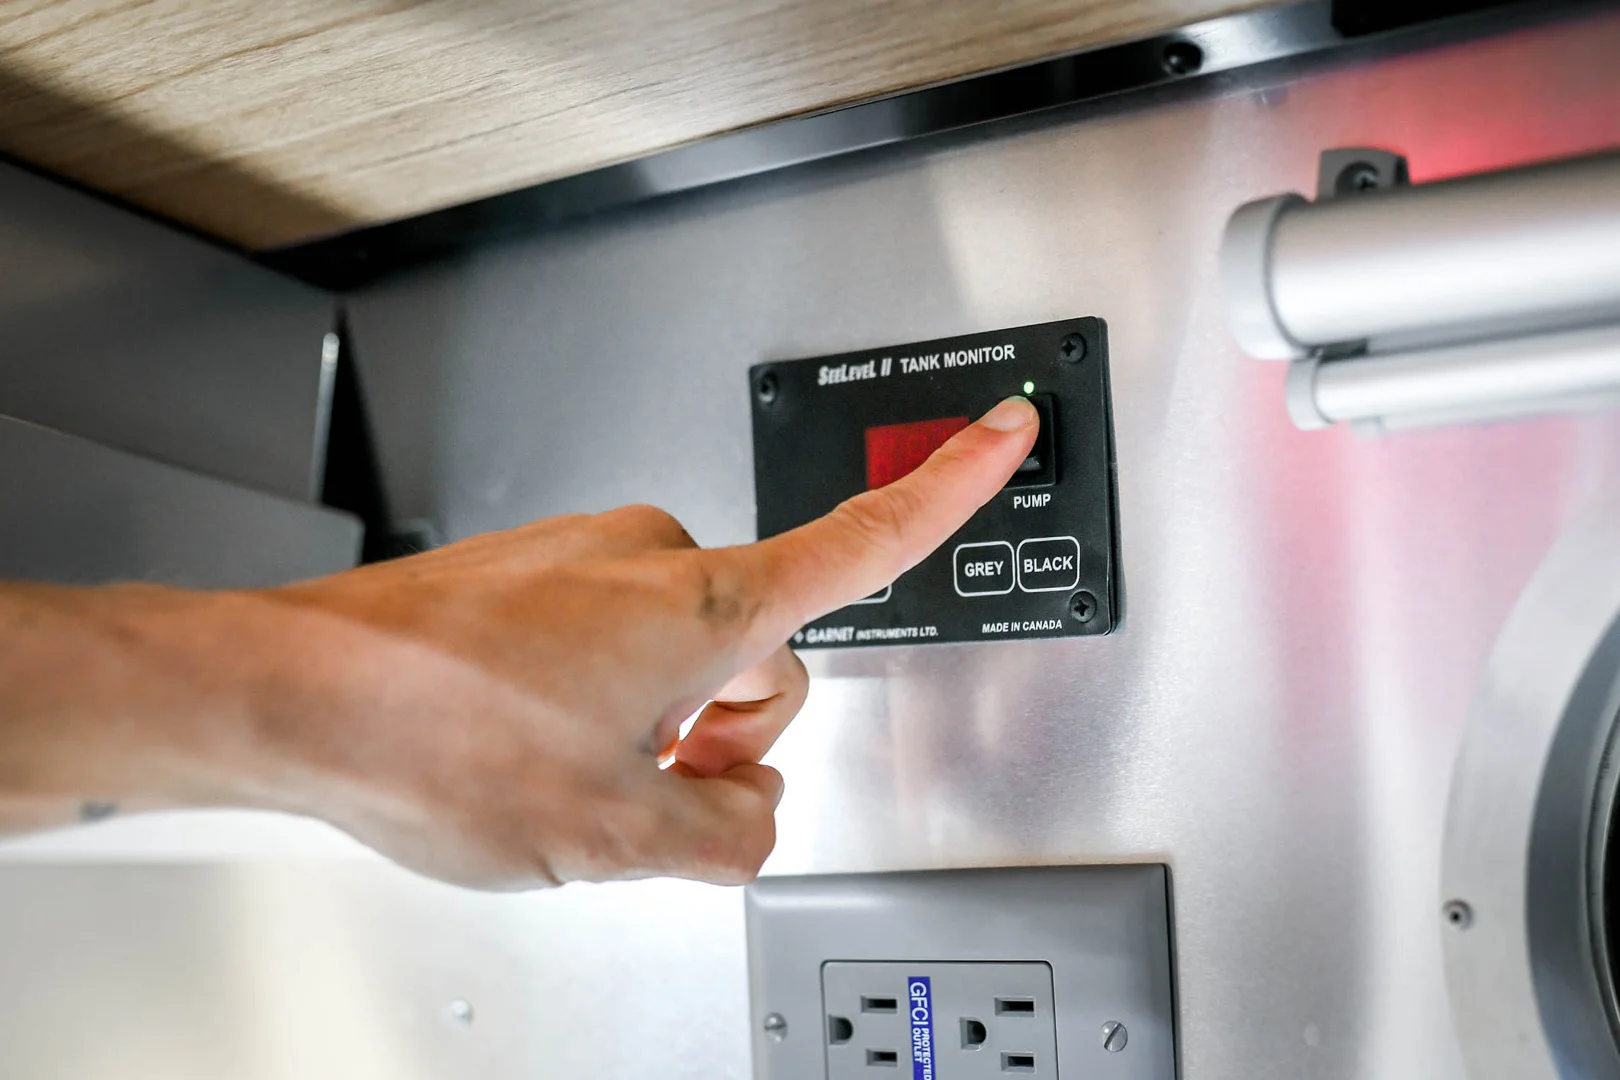
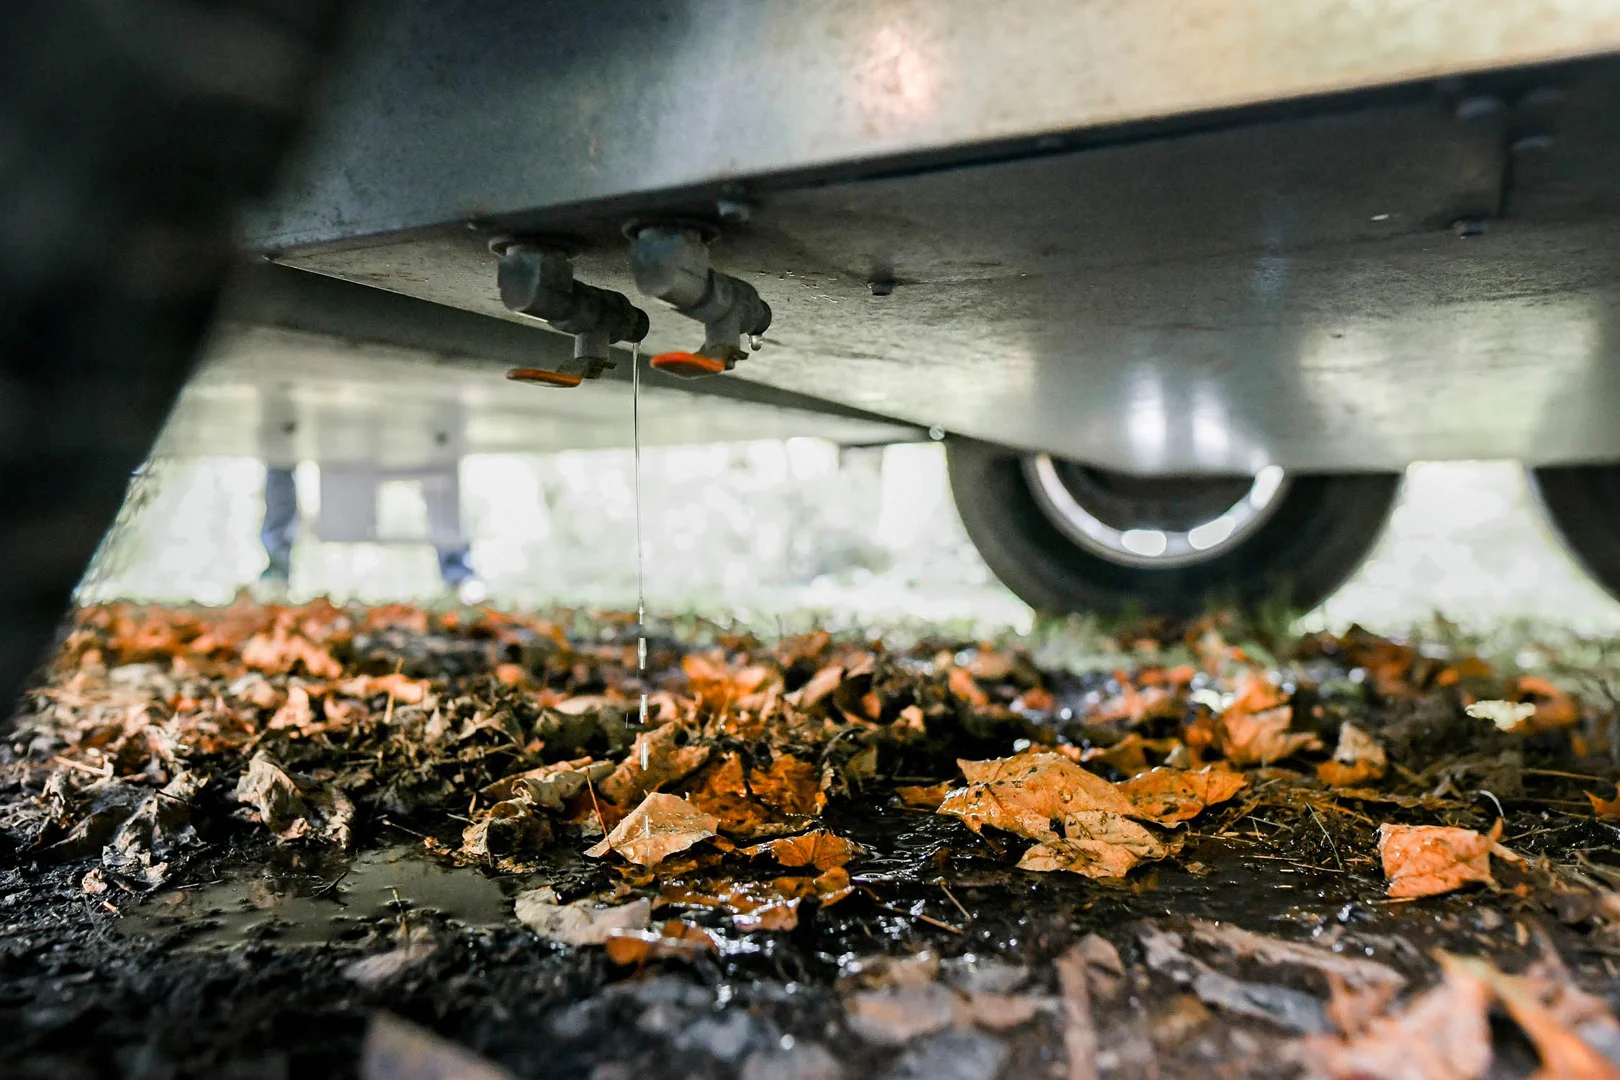
Before using compressed air or antifreeze, your trailer or van should have all the holding tanks emptied. Drain your grey and waste tanks into an appropriate dump station. Your fresh water tank has valves attached that allow you to empty them (consult your owner’s manual to learn where these drains are located and how to operate them). This sets the foundation for a successful winterization and protects your systems through the cold months.
Step 2A: Using an Air Compressor to Winterize
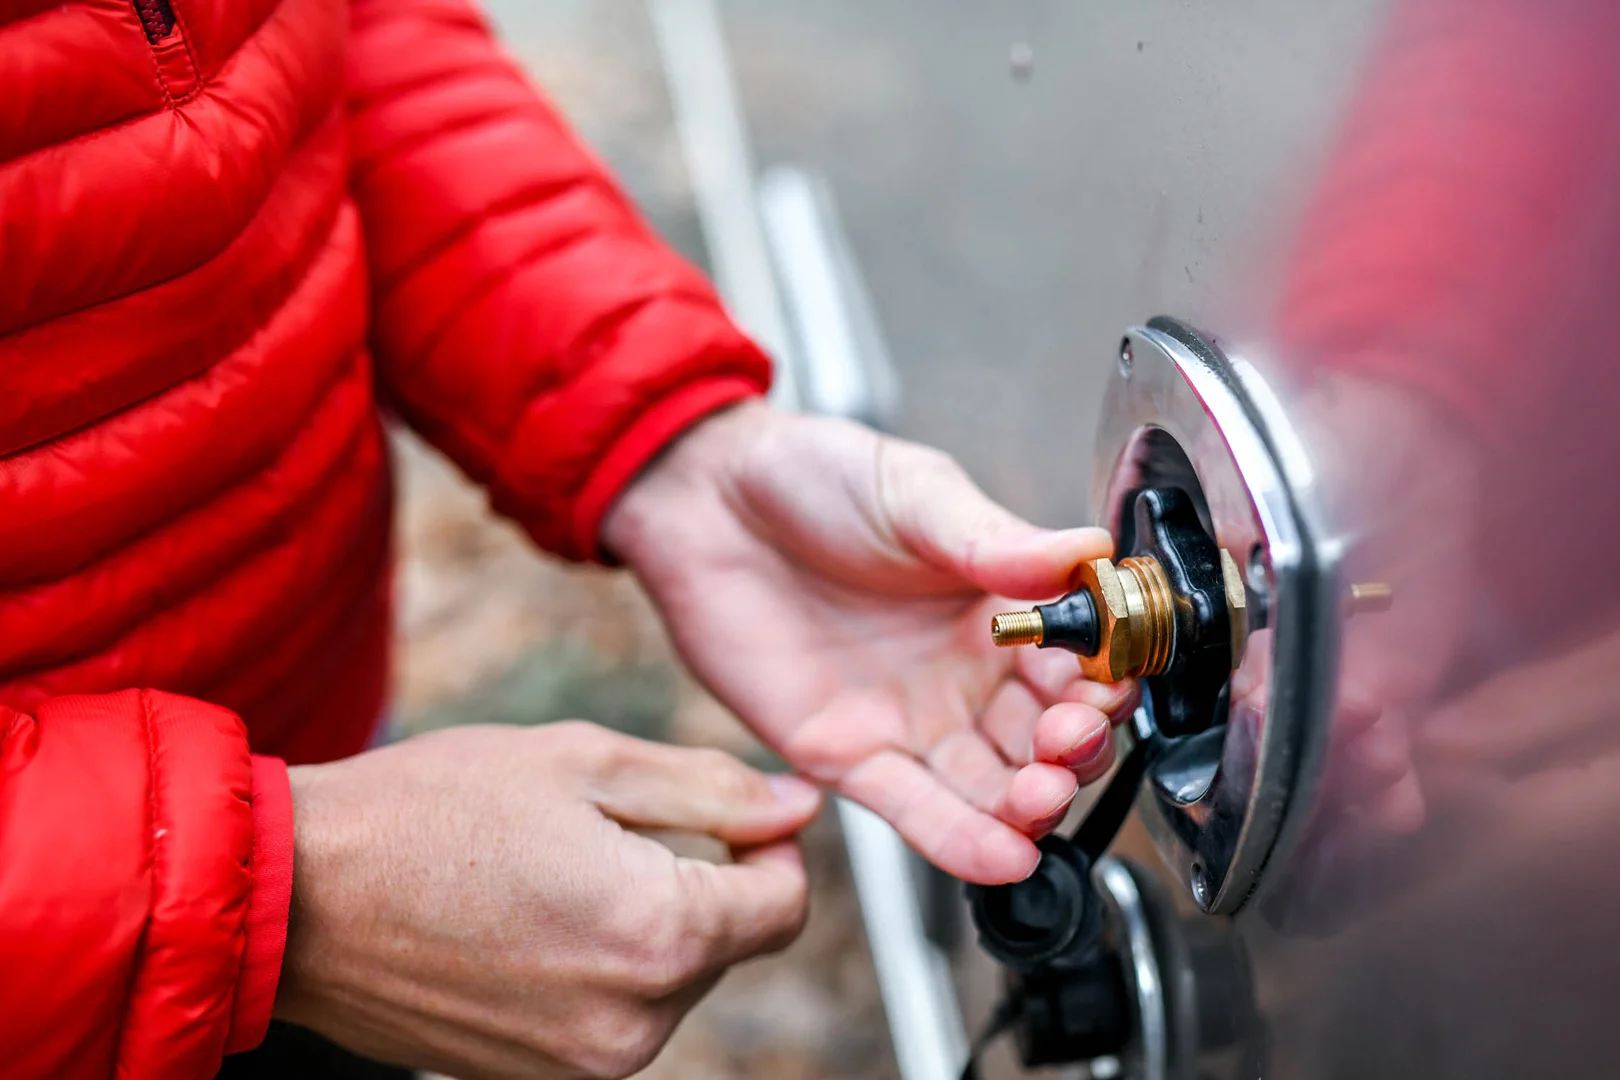
If you have access to an air compressor, all you need is the right fitting. Airstream Supply Company offers blow out plugs that allow you to connect the same kind of fitting you’d use to fill bicycle tires with air. Elsewhere, you can find fittings that screw directly onto your city water connection. Connect the air compressor fitting and begin applying compressed air. Keep in mind that you must keep air pressure under the recommended 50psi or you can risk damaging internal systems.
It’s helpful to have an assistant go inside and begin opening each faucet, one at a time. The compressed air will blow any remaining water out through the faucet. If the faucets have both hot and cold-water functions, rotate the handles all the way from cold to hot to allow all the lines to clear. Then, one at a time:
Flush the toilet (and depress the toilet hand sprayer if you have one).
Turn on the shower (and the external shower if you have one).
Depending on your Airstream model, you may also have other appliances that utilize water, such as an ice maker, washing machine, or tub.
You’ll also need to turn the water pump on and allow the compressed air to clear water that may be trapped in the pump.
At this point, if you have access to a dump station, it’s good to empty the grey and waste tanks again. Either way, add at least one cup of RV antifreeze to all sink drains and the toilet to prevent remaining water in the tanks from freezing.
Step 2B: Using RV Antifreeze to Winterize
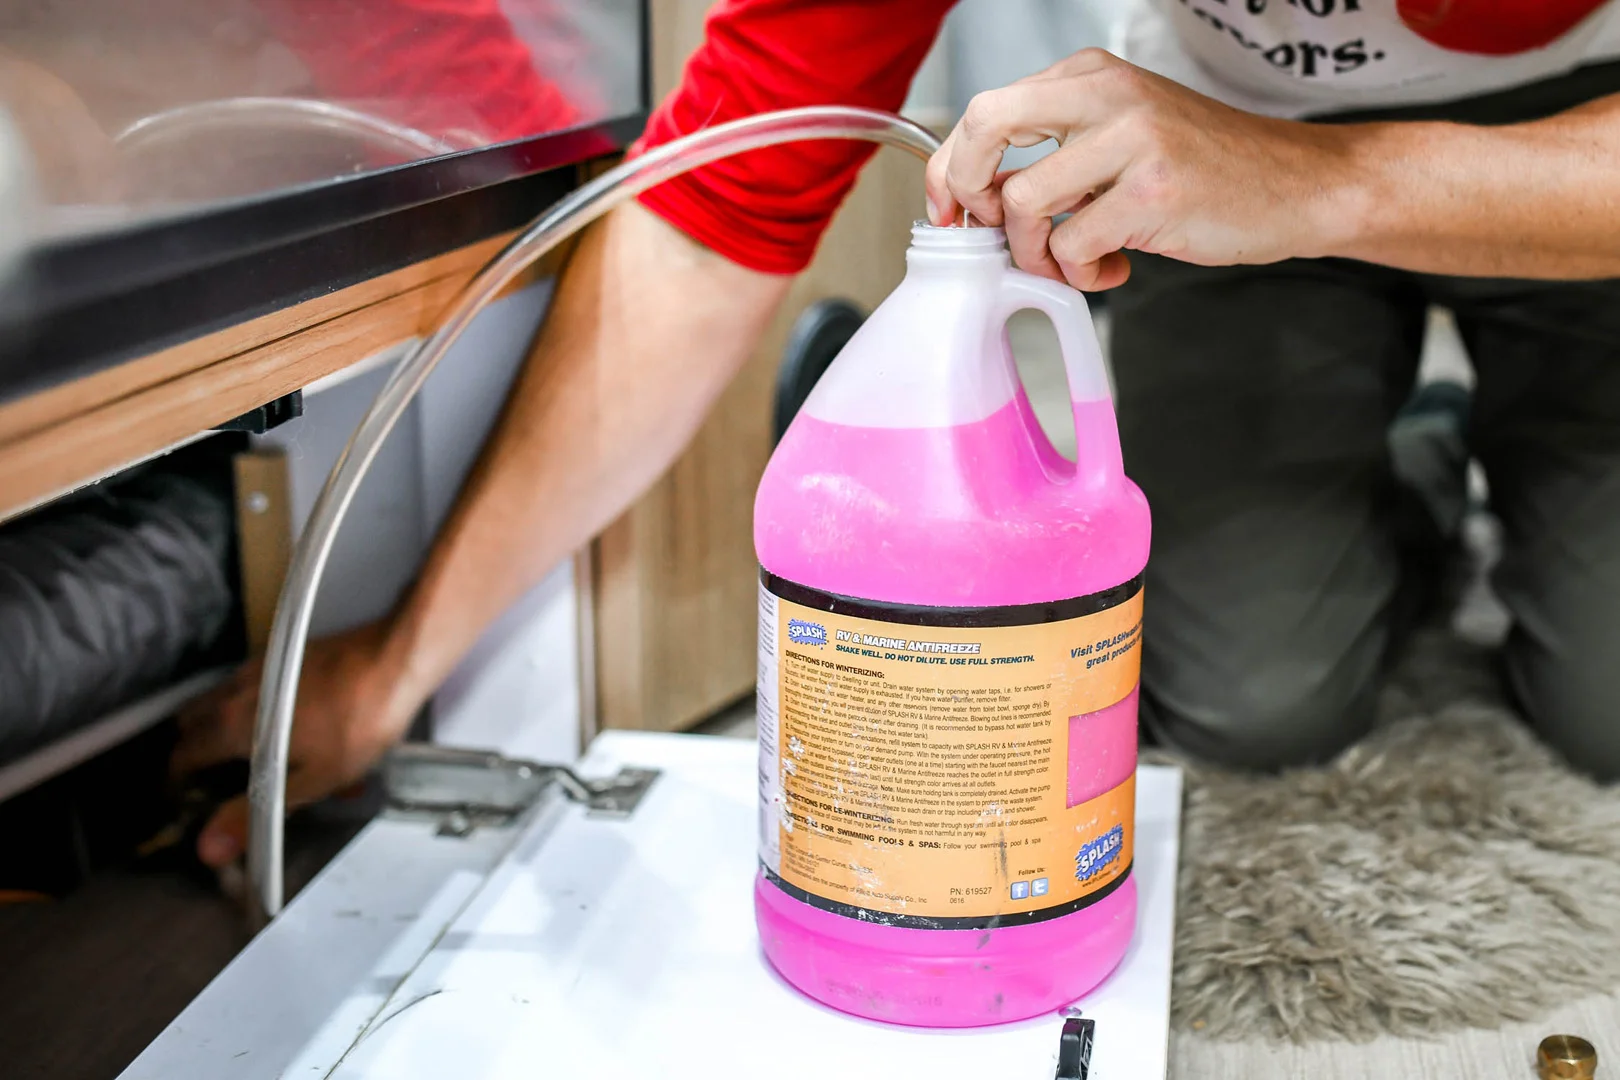
You can also winterize your travel trailer with non-toxic RV antifreeze. You’ll need a Pump Converter Kit (also known as a pass kit), as well as approximately two gallons of RV antifreeze. Special note: DO NOT USE REGULAR AUTOMOTIVE ANTIFREEZE. IT IS HIGHLY TOXIC. USE ONLY NON-TOXIC RV ANTIFREEZE.
Make sure the water pump is off and all faucets are closed. Close the water heater bypass valve if your trailer has one (typically with a water heater that has a tank)—this prevents six unnecessary gallons of RV antifreeze from filling the water heater. Attach the pump‑converter kit to the inlet side of the water pump, then switch the pump on to begin drawing antifreeze through the system.
Inside the trailer, faucet one at a time, rotating from hot to cold, until the red antifreeze appears. Do the same for the toilet valve and shower. Once every line runs with antifreeze, close the valves and pour a cup of RV antifreeze into each sink drain and the toilet to protect the traps and seals.
Step 3: Beyond the Water System
With the plumbing system protected, the final step is preparing your travel trailer for storage. A quick round of exterior and interior checks now will save you time—and prevent headaches—when camping season returns.
Shut off propane at the tank. Some owners choose to completely remove their propane tanks for winter storage.
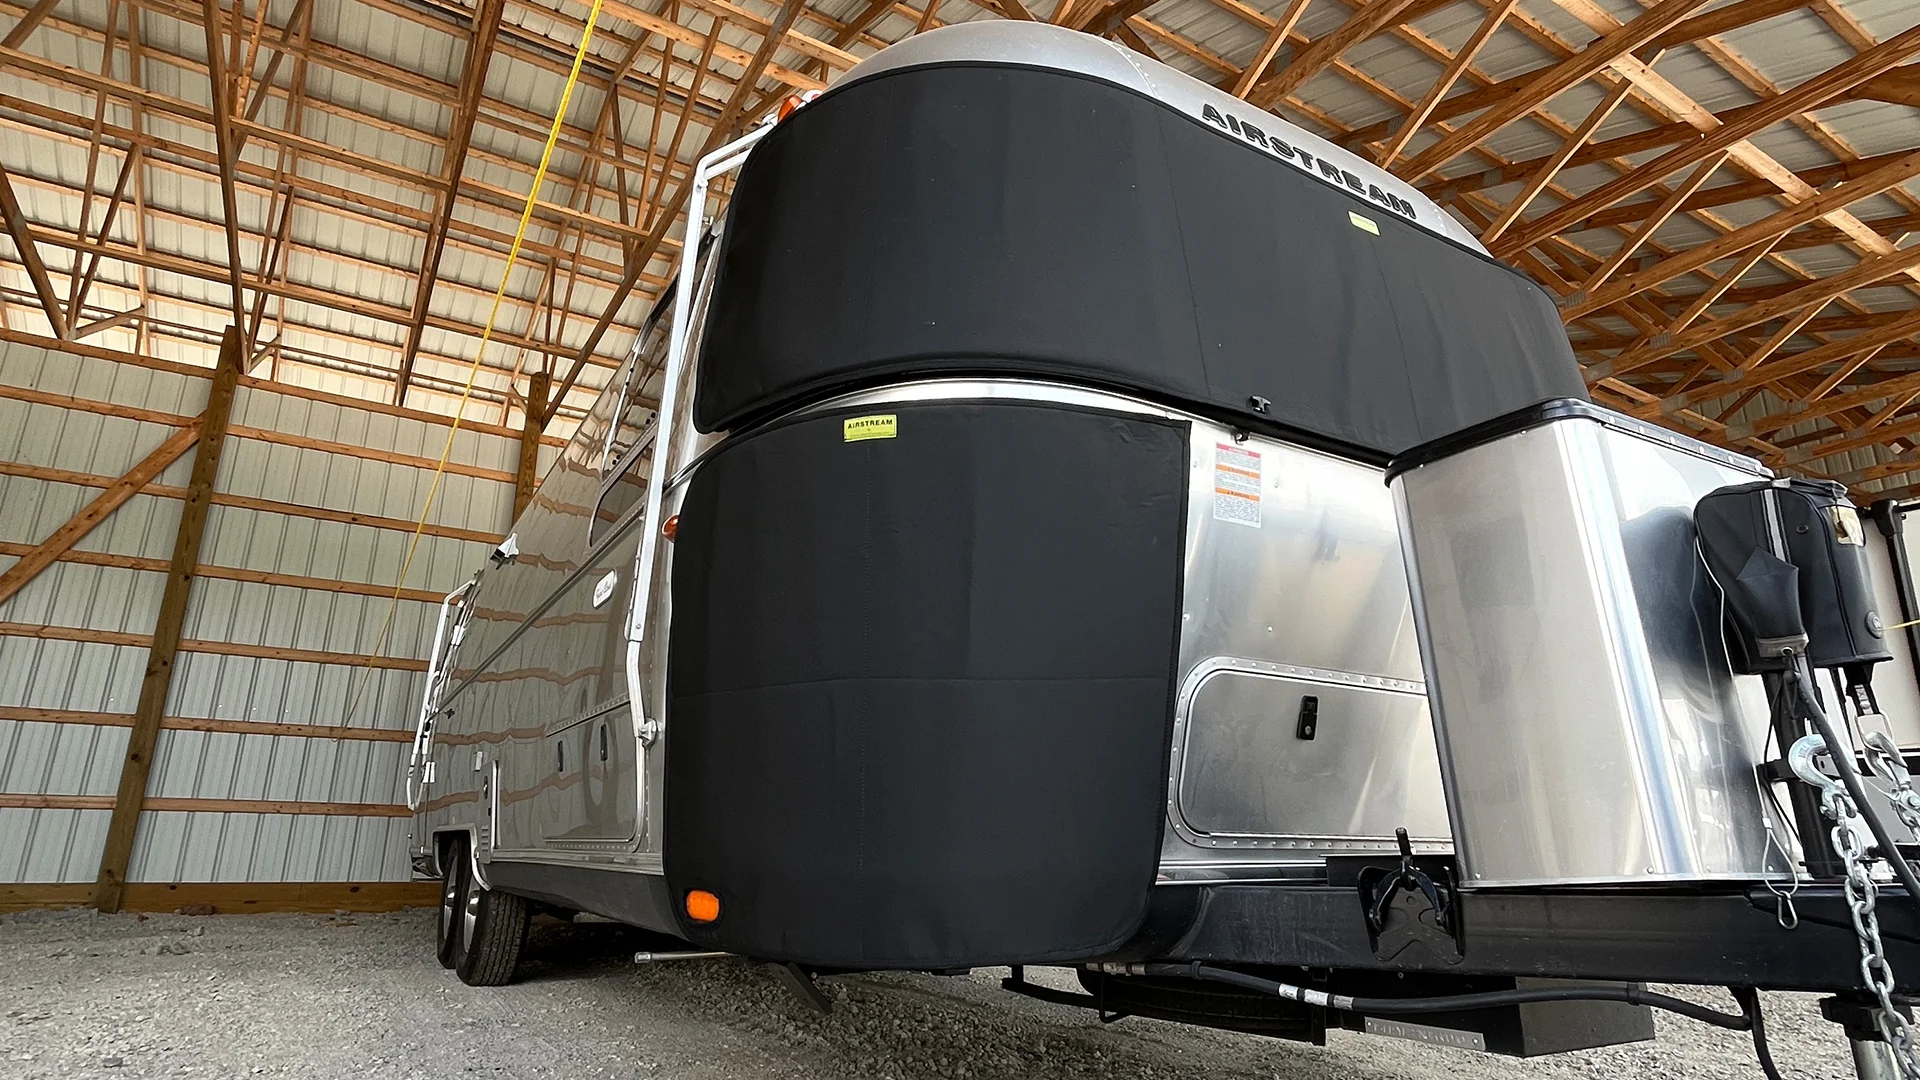
Inflate, clean, and cover tires to guard against UV damage and dry rot.
Apply dielectric grease to the 7‑pin connector to prevent corrosion.
Turn off the electric heating element on dual‑fuel water heaters.
Leave fridge and freezer doors open to dry; newspaper or towels helps to absorb residual moisture.
Place baking soda in the fridge to reduce odors.
Remove all food, paper, and cardboard to discourage rodents.
Wash the trailer—don't forget the roof top—and inspect sealants, vents, and AC covers.
Lubricate steps, stabilizer jacks, and all pivot points.
Battery Storage
Batteries last longer when they’re charged and monitored. Removing them for garage storage makes it easier to check fluid levels, inspect for damage, and have them tested. If you leave batteries in the trailer, they must stay charged—either by plugging in periodically or connecting to a charger monthly. Batteries should enter storage fully charged and maintained to prevent freezing. Avoid leaving the trailer plugged in continuously; a failed battery can cause the converter to overwork and boil off battery fluid. Many owners remove batteries for storage and leave them connected to a trickle charger over the winter. This can help maintain battery health for the long run.
Final Steps
Move your trailer to a storage spot on gravel or concrete to protect tires from moisture. Keep it away from tall grass, overhanging branches, and areas that attract rodents. If possible, store it somewhere secure and within sight.
Your Airstream is now ready for winter. The process may seem daunting at first, but once you learn it, winterizing becomes a straightforward routine that protects your investment for years to come. Additional details can be found in the Maintenance section of your Owner’s Manual.
Frequently Asked Questions on Storing Your Airstream
Short Term Storage Checklist for Your Travel Trailer
If you need to store your travel trailer for a few days, few weeks, or even a couple of months, this easy checklist will set you up for a successful and happy return to your Airstream:
Ensure the battery disconnect switch is off so that your battery isn’t depleted.
If you are connected to power, you can leave the fans running for air circulation, which can help prevent smells and mildew.
Don’t leave any perishable food items in the refrigerator, freezer, or cabinets. They will spoil, leaving a foul smell and will attract bugs and other wildlife.
Leave your refrigerator and freezer doors slightly ajar for air circulation.
Leave the bathroom door open.
Empty all tanks to ensure they are clean. If you will be leaving your Airstream in storage for longer than a few days, consider adding a small amount of fresh water to the tanks to prevent seals from drying out and cracking.
Leave the toilet with a small amount of water in it (less than a full flush) to avoid complete evaporation. The toilet seal should be kept moist at all times to avoid cracking and leaks.
Run the water in the shower and sinks for just a couple of seconds before leaving the Airstream to ensure water stays in the P Traps.
Spray for bugs or leave bug traps before you leave to deter them from making a home in your travel trailer.
Consider checking in on your Airstream periodically throughout its time in storage to ensure there are no issues presenting themselves, such as leaks, foul smells, battery drain, or wildlife damage.
Annual Maintenance
Airstreams are built for the demands of travel, but road conditions, towing habits, and usage all affect wear over time. Staying within weight limits, packing thoughtfully, and performing routine maintenance can help prevent issues and extend the life of your trailer.
Thanks to premium materials, expert craftsmanship, and more than 95 years of experience, many owners find Airstreams require less maintenance than comparable RVs.
For detailed maintenance and preventive care resources, visit our support center.
Top Routine Maintenance Tasks
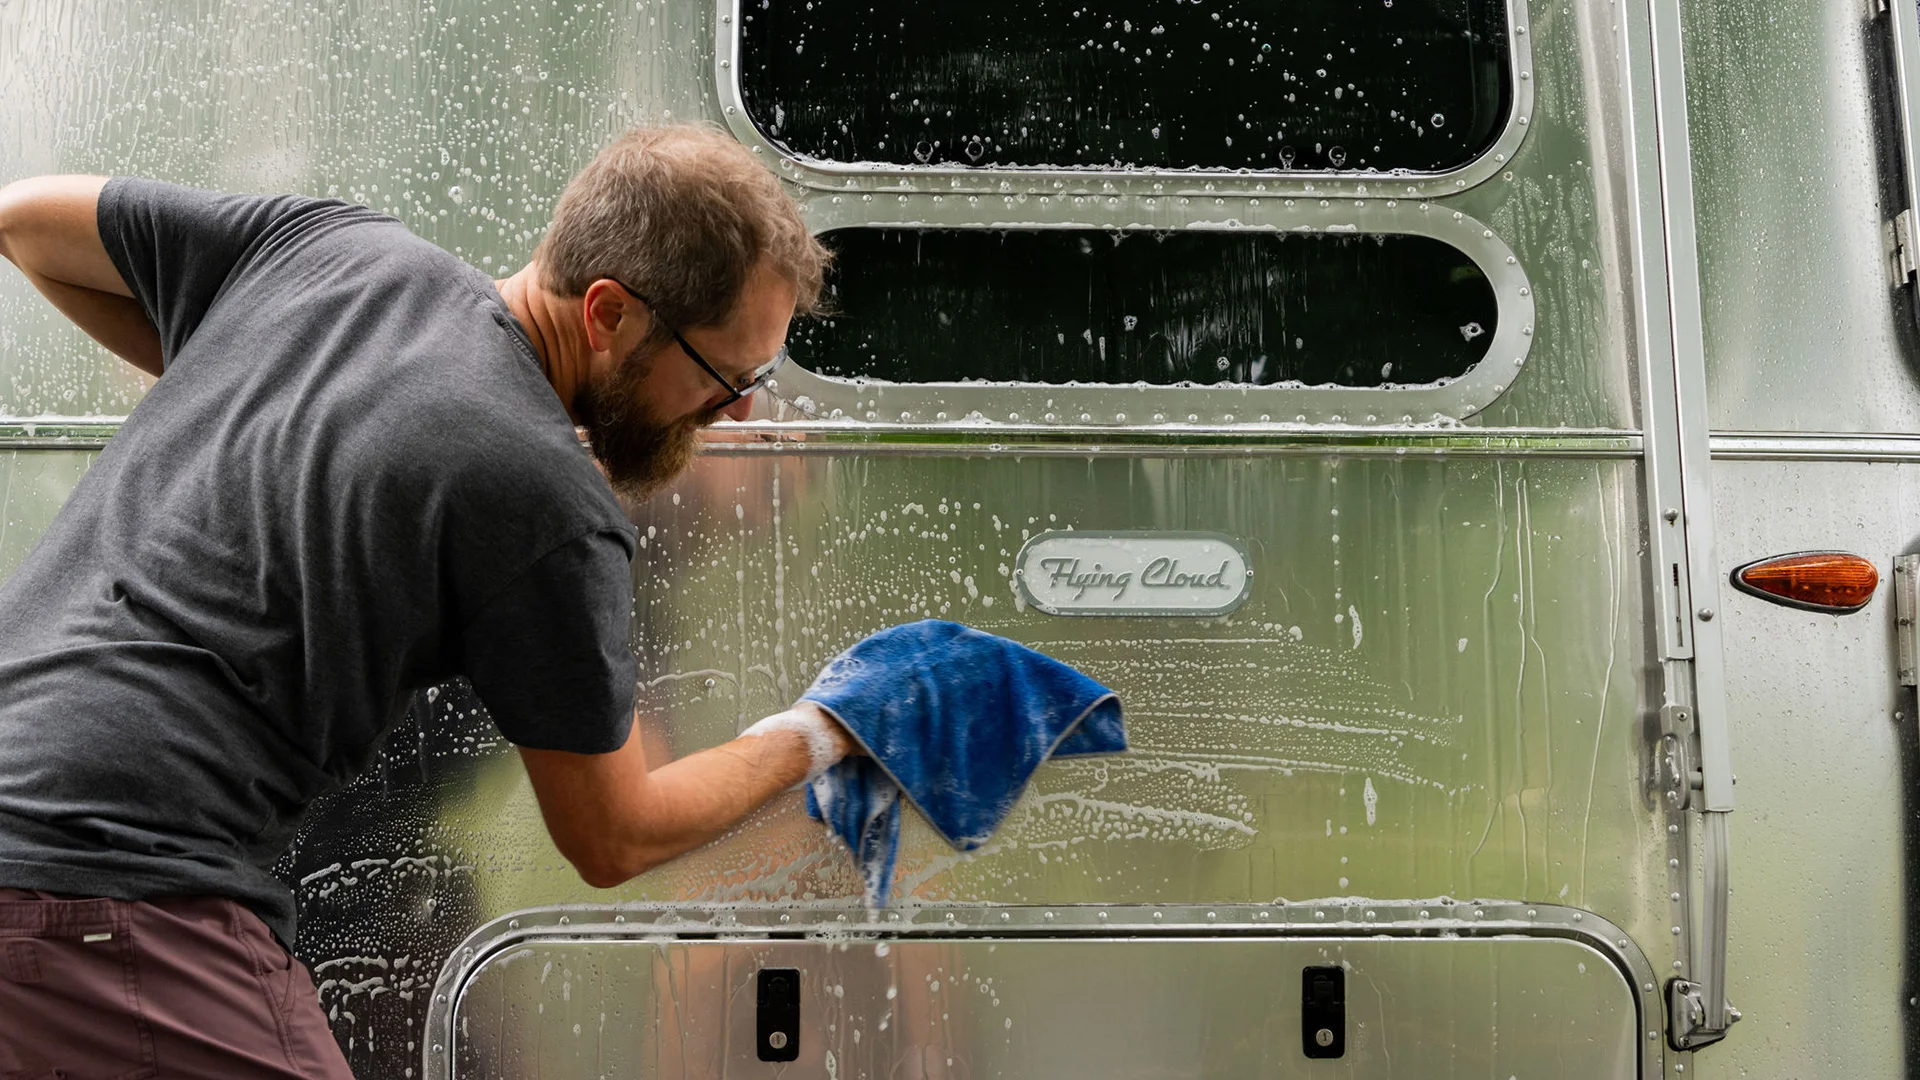
Wash and wax the exterior
Wash about every 4 weeks.
Wax in spring and fall using a clear coat-safe wax.
Clean more frequently in coastal, industrial, or winter-driving conditions.
Clean the interior
Use gentle household cleaners.
Avoid oversaturating surfaces and allow them to dry completely.
Keep windows operating smoothly
Apply 303 Protectant or olive oil to window seals every 3 months.
Avoid petroleum-based products.
Inspect tires before every trip
Check tire pressure, tread wear, dry rot, and lug nut tightness.
Address uneven wear promptly.
Check interior hardware
Tighten loose screws, hinges, latches, and other fasteners.
Secure loose items before travel.
Inspect sealants seasonally
Check roof vents, windows, doors, seams, and awning rails in spring and fall.
Repair cracked or deteriorated sealant as needed.
Manage interior humidity
Maintain relative humidity at 60% or less.
Use exhaust fans, air conditioning, or a dehumidifier when needed.
Maintain drains and tanks
Use RV-safe drain products.
Flush the black tank after dumping to help prevent buildup.
Clean air conditioner filters
Remove dust regularly and rinse filters as needed.