
If you winterized your Airstream Touring Coach and put it in storage (in your driveway, garage, or storage facility) for the colder months, the first sign of warmer weather will likely make you want to hit the road right away. Before you do, spend an afternoon going through these steps to de-winterize your RV and make sure it’s ready to go. Let’s put that spring cleaning energy to work!
Charge Up Your RV Batteries

RV batteries can lose up to 10% of their charge each month the RV is in storage or out of use. So even if you started with full batteries last winter, they could need a charge now. Before touching the batteries, locate the main on/off power switch in your RV and make sure it’s in the off position. Then, open the battery storage compartment.
Use a wrench to remove the black cables from the negative terminals. Then, remove the red cables from the positive terminals. Check for corrosion on the batteries. If you find any, use an old toothbrush, hot water, and baking soda to clean it off.
Once your batteries are clean and dry, they’re safe to charge. You can charge a number of different ways:
- A converter into a power source (home outlet, generator, etc.)
- Battery charger device
Check your battery’s recommendations for how much to charge it and other requirements such as re-filling water compartments.
While your batteries charge, you can work on other de-winterization tasks.
Check and Refill Tires
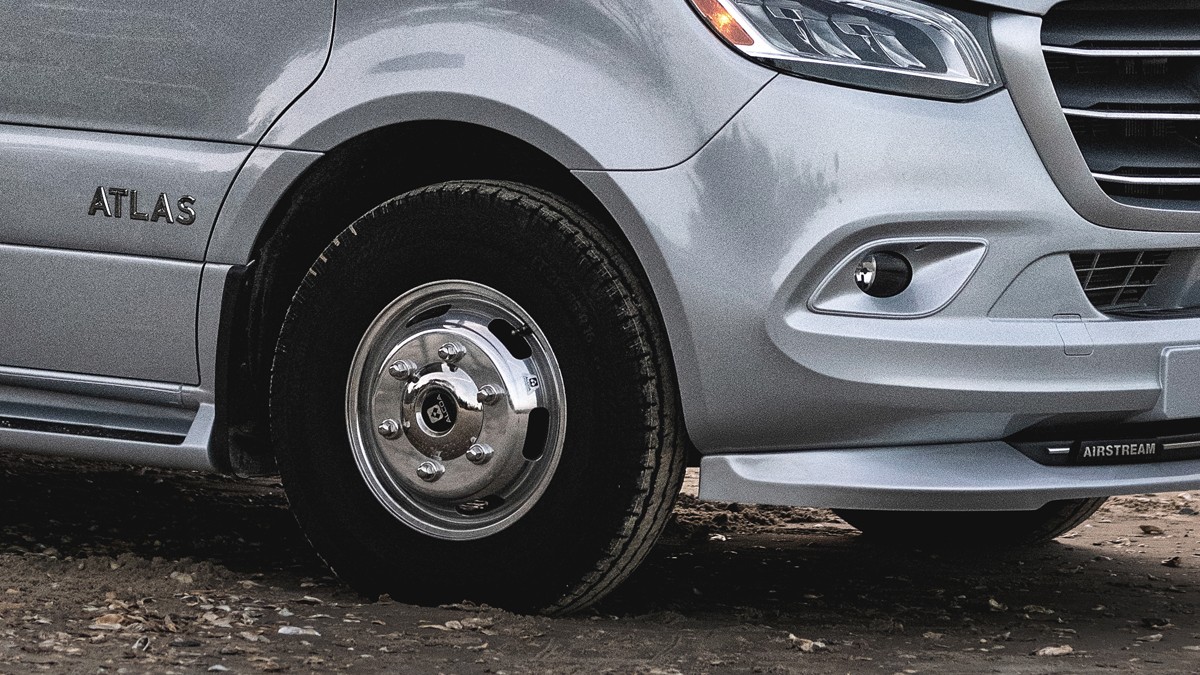
Just like batteries lose power in storage, tires can lose air pressure over time. Remove the air caps on each tire and use a tire pressure gauge to measure the current psi against the manufacturer’s psi guidelines. Fill any underinflated tires back up to the recommended psi and replace the air caps when you’re finished.
Take a look at each tire’s treads and check for wear along the tire walls. For more on tire maintenance, check out this post: Your Class B RV Tire Questions Answered.
Flush Your Water Tanks
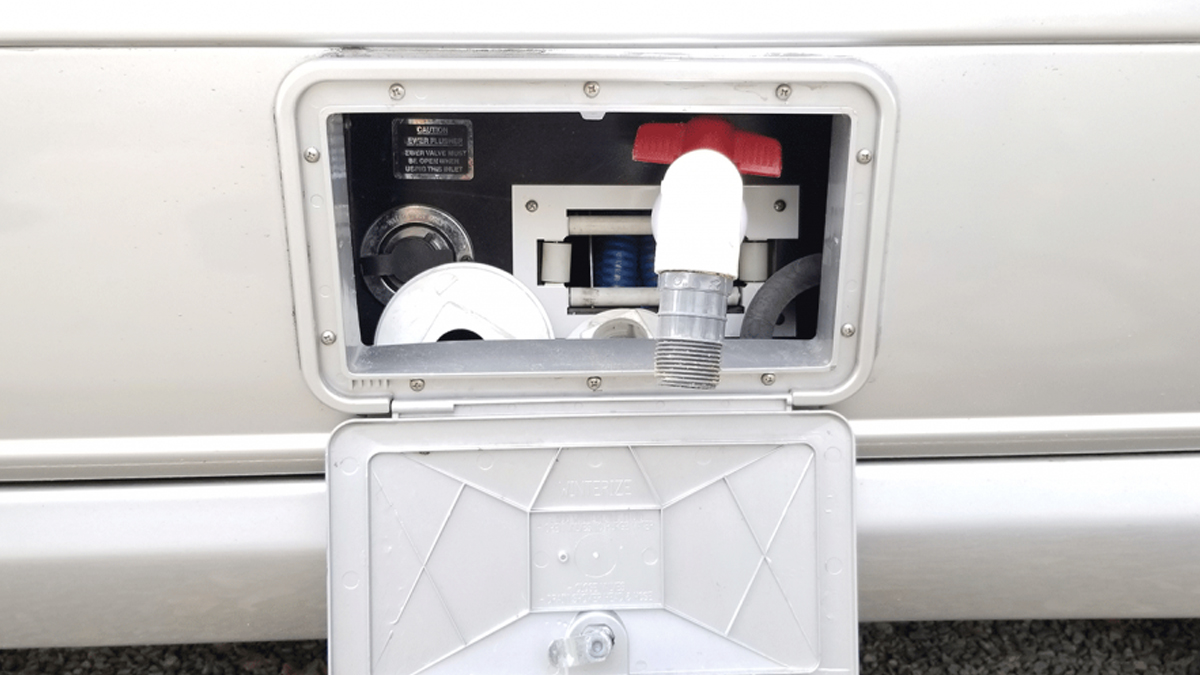
If you winterized your RV’s water tanks using antifreeze, it’s time to flush that out of your water system. Start by reconnecting any water lines you may have disconnected as part of winterization. Leave these lines in bypass mode while you’re completing this task. Close any open faucets.
Connect fresh water to the city water port on the side of your touring coach and slowly turn that fresh water source on. Check for any leaks at the hose connection. If you see and hear no leaks, move inside the touring coach and turn the water pump on. Open one faucet and the antifreeze should start flushing out of your fresh water tank. You’ll see the blue color. Flush the hot and then cold water until it runs clear. Then, repeat this process at every faucet and/or shower in your RV. Flush your toilets and low point drains last.
To be extra safe, you should fill your fresh water tank all the way up with fresh water and then repeat the flushing process at all faucets, showers, toilets, and drains. When it’s all running clear, the antifreeze is removed from your tank.
Open the Hood and Clear Any Debris

Small animals, rodents, bugs, and birds tend to find a warm engine and make a little home for themselves. Before you start your RV up, open the hood and check for living things or debris that may have gathered on or near the engine. Clear debris off with an air compressor or a small brush.
Make Sure All Driving Lights Work

Grab a spotter friend and have them stand outside your touring coach while you start the engine and turn on the driving lights. Roll down the window and let your friend know which lights you’re turning on when, and have them confirm that they’re working. Check your headlights, flood lights, brights, turn signals, emergency hazard lights, and brake lights. If anything doesn’t come on as expected, make a service appointment before hitting the road.
Clean Inside and Out
Last year’s dust and dirt should stay in the past. It feels great to start a trip in a sparkling clean touring coach, so this is the perfect time to do a deep clean.
Wipe down countertops, vanities, drawer bottoms, cabinet fronts and insides with multi-purpose cleaner and a microfiber cloth. You can also use a multipurpose cleaner on sinks, faucets, shower fixtures, and inside appliances like the fridge and microwave. Clean any seating with a clean, damp cloth (water only). Use baby wipes to clean the interior walls.
Outside, you can use any conventional car cleaner that’s safe for clear coats on the body of your touring coach. Be careful not to use brushes or cloths with hard bristles, as they may scratch the surface.
Looking for more cleaning tips? Check out this post: How to Clean the Interior and Exterior of an Airstream.
Not a DIYer? Schedule a Service Appointment
If you’re not keen on doing these de-winterization steps on your own, or you’ve found some issues that need to be addressed before you can start your first trip of the season, schedule a service appointment at an Airstream Service Center.


