De‑winterizing is the first step of the new season toward getting back on the road—and it’s easier than it sounds.
There’s a moment near the end of winter when Airstreamers in the northern latitudes start feeling the travel itch. The sun is out, the clouds have cleared, the air is still – cool but warming enough that we can go outside without freezing – and then suddenly we’re dreaming about hitting the road. For many of us, spring means getting the Airstream out of storage and preparing for the summer travel season. But you can’t hit the road without de-winterizing. While this may sound complicated, it’s not as difficult as one might think. It’s a great opportunity to learn more about your Airstream and its various systems, and the effort you put in now pays dividends down the road. We’ve made the process easy with a step-by-step guide to de-winterizing your Airstream.
:quality(85):smart(true))
1. Scrub-a-Dub-Dub
Outside-in
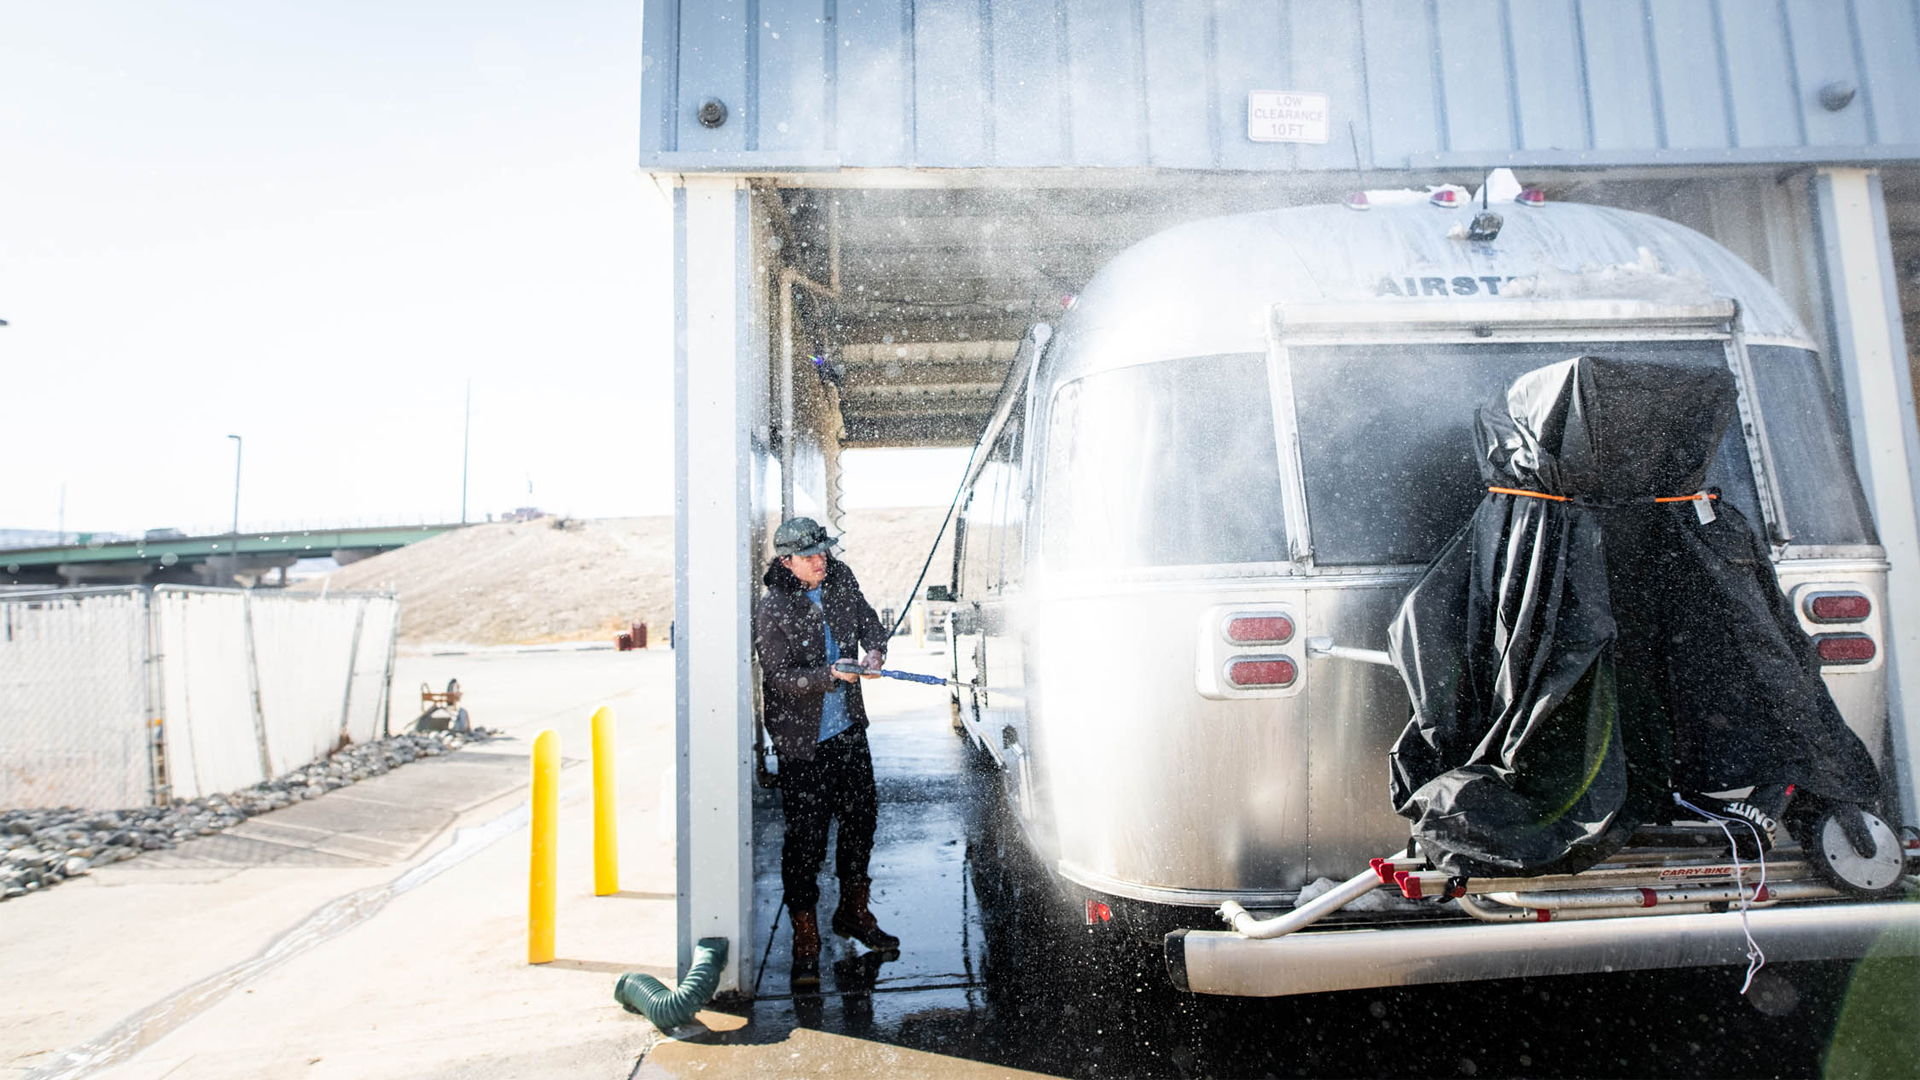
De-winterization starts on the outside and moves inward. The first step is to clean the exterior. Treat the exterior of your Airstream like you would your vehicle. Like most cars and trucks, your Airstream travel trailer has a clear coat applied over the aluminum – an extremely thin layer of clear paint that protects the aluminum from debris and helps it shine. Look for cleaning products that are safe to use on a clear coat, many of which are commonly available at automotive stores or online at Airstream Supply Company (two of our favorites are Glare Ultra Wash or No-Wet Waterless Car Wash). Be sure to use a soft rag and work with the grain of the aluminum – from the back to the front. Washing your Airstream using and up-and-down motion can leave tiny scratches that will catch the sunlight and look unsightly. Finish with a protectant and polish like 303 Aerospace Protectant, RejeX, or Walbernize. For wheels and tires, wash with soapy water or use Glare Turbo Action Wheel Cleaner. And for any clear coat nicks or scratches, use a clear coat touch up pen. Don’t forget to clean your awning.
Head Inside
Your Airstream is your home on wheels, and you can use many of the same products you use in your brick-and-mortar home to clean up the interior of your Airstream. We love the microfiber cloths from eCloth that let you clean up without the use of harsh abrasives, but depending on what you're cleaning you may want something more powerful.Start by vacuuming to remove dusty, dirt, and other debris, and sweeping the floor to collect any remaining dirt. Also, look for any pest traps or repellants you may have put in before storage and throw them away. Warm soapy water works well for the flooring, and a Swiffer is a great option for periodic cleaning after you’ve done the deep cleaning work. For the ultrafabrics and the walls, you can use cleaning products like Pledge to clean and polish. For suede leathers, baby wipes are a great option in a pinch. Be sure to not oversaturate while cleaning, and simply let the surfaces air dry. Household disinfectants work well on the hard surfaces in the galley and lavatory areas for deep cleaning. And don’t forget to wash and dry any linens that might have been stored over the winter.
:quality(85):smart(true))
Become a Dewinterization Detective
De-winterizing is the perfect time to inspect your Airstream for any regular maintenance issues that may have gone unnoticed last season, and for any issues that may have set in during storage. Walk around the outside of your travel trailer, paying special attention to glass and plastic parts that weather faster than metal. Check windows for cracks and damage, and inspect the sealants to make sure everything is sealing up properly. Inspect accessories like exterior lights, and get a partner to help you test brake lights and turn signals to insure they’re working properly. Finally, open and close all doors and storage compartments. Keep track of any issues you may find – most issues that crop up are easily remedied by a trip to the hardware store or a quick order online. If you’re comfortable climbing a ladder, get up high to check the roof of your Airstream. Look for damage (or bird nests) on your air conditioner and around the skylights and fans. Back inside, check the cabinets, doors, and drawers to make sure everything is working properly. Have a screwdriver handy to tighten any screws that may have worked their way loose. Look for any water stains that may indicate a water leak, and keep an eye out for any spots where pests may have found a way inside.
2. Battery Check
Your Airstream’s battery is one of its most important components. Batteries can be dangerous though, so only inspect them if you feel comfortable doing so. It’s always a good idea to wear gloves and protect your eyes when working with batteries. Your best bet for ensuring your batteries are ready to go when camping season comes back around is to remove the batteries before winterization and store them in a cool, dry place. Connecting your batteries to a battery tender or charger over the offseason not only ensures your batteries are topped off and ready to go, but a smart battery tender can keep your batteries healthy and extend their lifetimes. If you left your Airstream unplugged during the winter (which Airstream always recommends, as it can be dangerous to leave it hooked up to power when no one is around to keep an eye on it), the first order of business is to recharge. If you chose to leave your batteries in your Airstream over the off-season, make sure to inspect the batteries for any cracks or damage. Clean the corrosion off your batteries with a wire brush and take care to inspect the cables for cracks or damage. You can charge the batteries with your Airstream’s converter/charger. Turn off the trailer’s storage mode and connect it to shore power or a generator. If you’re parked in the sun, you can also turn on any solar panels you have installed. Lead-acid batteries can be filled manually with distilled water if the levels are low. Make sure to take care not to splash and always wash your hands afterward.
:quality(85):smart(true))
3. Flush the Plumbing
Winterization involves draining all the water out of your trailer and sometimes adding RV antifreeze to insure water doesn’t freeze in cold temperature and crack pipes in your Airstream’s plumbing. You’ll need to flush any antifreeze out before hitting the road. Close the low-point drains that were left open in storage, and connect a fresh water hose to your trailer’s fresh water inlet. Watch for any leaks under the Airstream, and then go inside and turn on all the faucets and showers (both the hot and cold). This will clear the plumbing of antifreeze. You’ll also want to set your water heater’s bypass valve to allow water into the water heater. This is also a good time to add fresh water system cleaner to disinfect and help with any lingering odors before filling your fresh water tank. This will also help remove any residual antifreeze. Once your tank is full, open the exterior drain and let the water run until the tank is empty – but don’t let the water pump run after the tank is empty or you could damage the pump. After this step, you’re ready to refill the fresh water tank as soon as you’re ready to hit the road. During this process, some water will get into your gray and black tanks. Check outside to make sure neither is leaking, and that your wastewater connections aren’t leaking either. This is also a good time to check your sewer hoses to make sure they are in good condition too. Check the dump handles, and lubricate them with some penetrating oil to make sure they don’t stick.
4. Propane Test
Reconnect your propane tanks and inspect the tanks. Propane tanks are labeled with a certification sticker, and must be certified at an inspection station 12 years after manufacturing, and then every five years after that. Inspect the connections and hoses, and look for any signs of wear and tear. Use a paint brush and soapy water to check for any leaks to hoses and connections, or use a flammable gas detector to check for leaks. If you suspect a leak or smell gas, call a professional or your local dealer to get the problem remedied. As always, better safe than sorry.
:quality(85):smart(true))
5. Checkup on All Tires
Finally, check your tires to make sure they are still in good condition. Your tires are the most important piece of the Airstream puzzle – safe, reliable tires mean safety while cruising down the highway. Even if you have a Tire Pressure Monitoring System, it’s a good idea to check the pressure and add air if they’re running low. Don’t be afraid of getting dirty! Get down and crawl under the trailer to inspect the back side of your tires. It’s also important to check the pressure on your spare tire. Nothing’s worse than getting a flat tire and finding out that your spare isn’t inflated! Lastly, check your lug nuts and tighten them if needed. The last thing you want while heading out on an adventure is a blown tire.
"Safety First" isn’t just a clever phrase. It’s the difference that makes a trip memorable for all the right reasons. Follow these steps to make sure your Airstream is ready to go when you are, and you’ll be able to travel with peace of mind and ease. Access and download your own dewinterization checklist so you can check off all the boxes (please reference owners manual for model specific requirements).