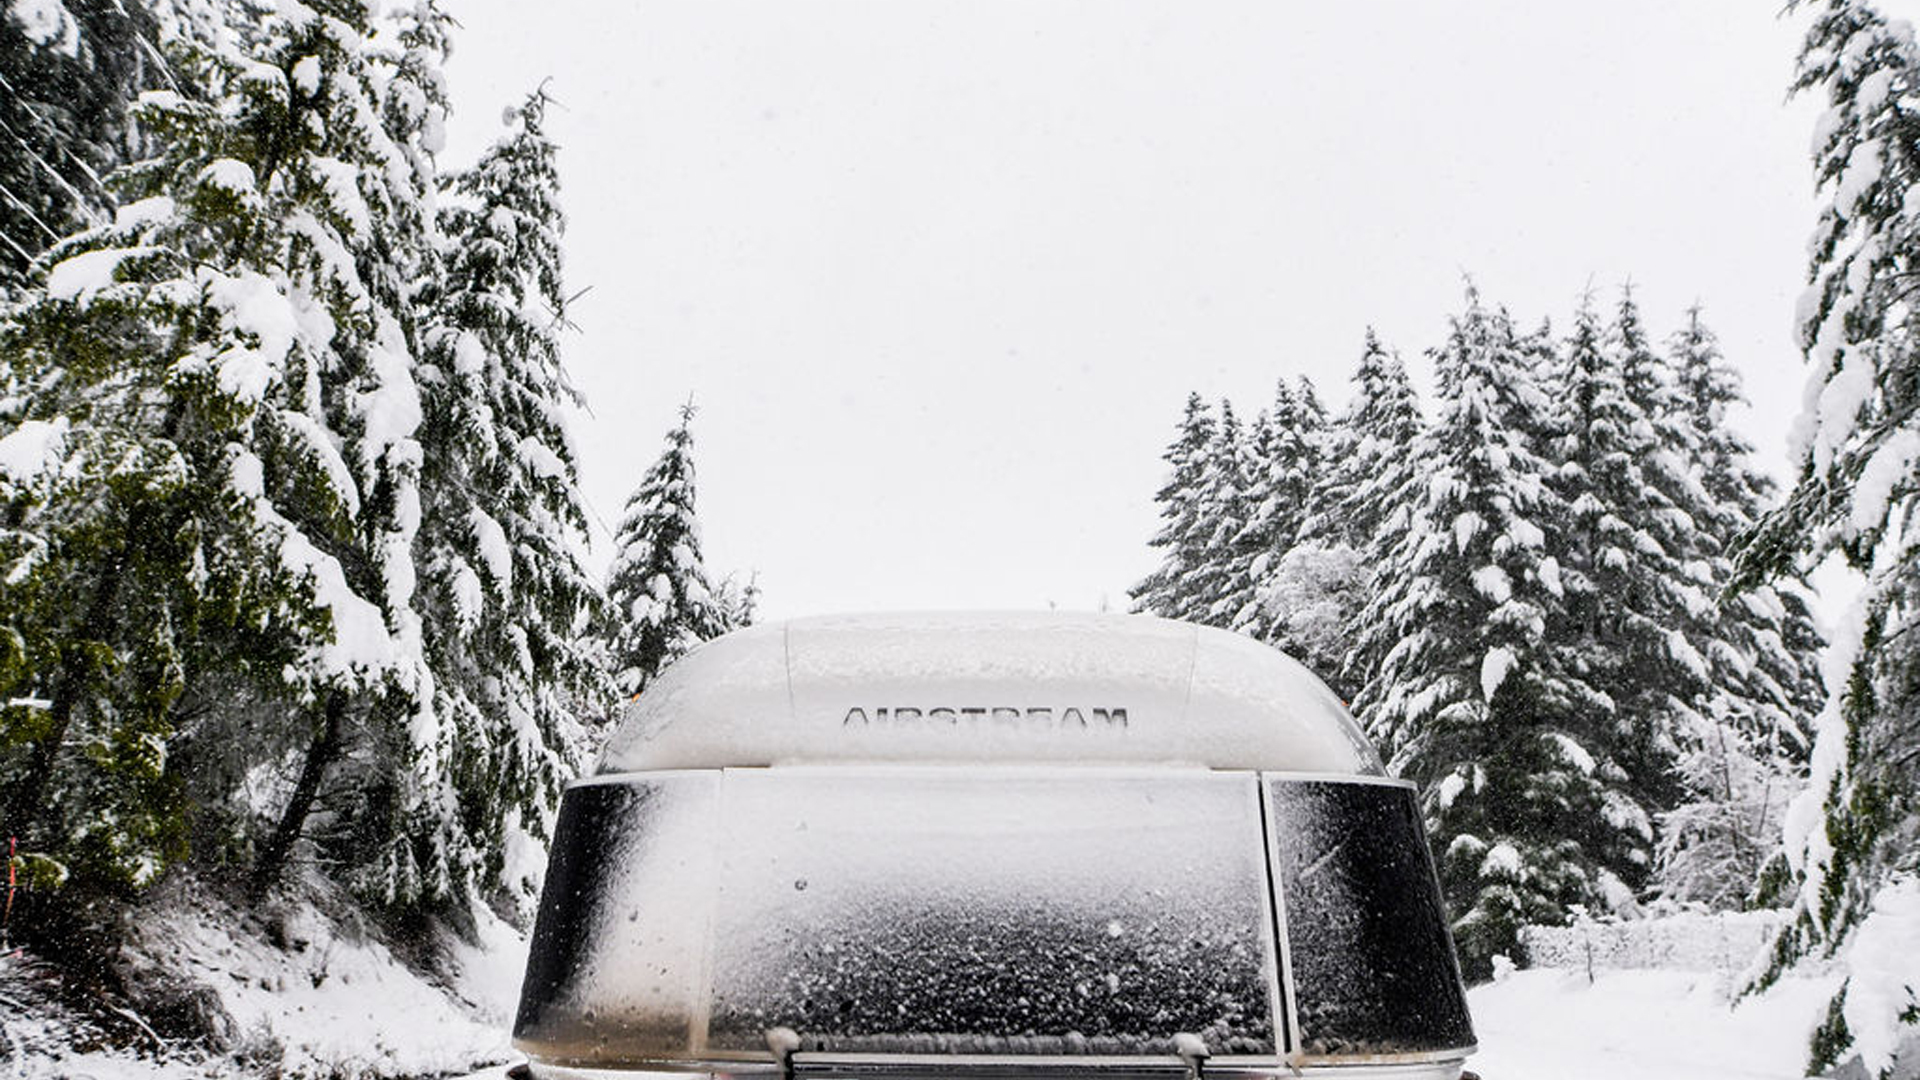
For Airstreamers living in the temperate parts of the world, the changing of the seasons from Summer to Fall is a bittersweet time. The end of the Summer camping season comes and goes, and while many campers continue to hitch up and hit the road as Autumn arrives, the thought of winterization and storage isn’t far from the mind. As much as we hate to put our silver bullets and motorized Class B Airstream Touring Coaches into storage for the winter, it’s an essential part of Airstream ownership for anyone who lives where freezing temperatures are expected.
If you’re one of the many Airstreamers who put their travel trailer or Class B motorhome into storage for the winter, read on for expert advice and resources for winterizing your Airstream, as well as recommendations for what to expect and what to look for when it comes to winter storage. Finally, we have great security products available at Airstream Supply Company that make it easy to keep your investment protected while you await the return of warm weather.
Winter Camping vs. Winterization
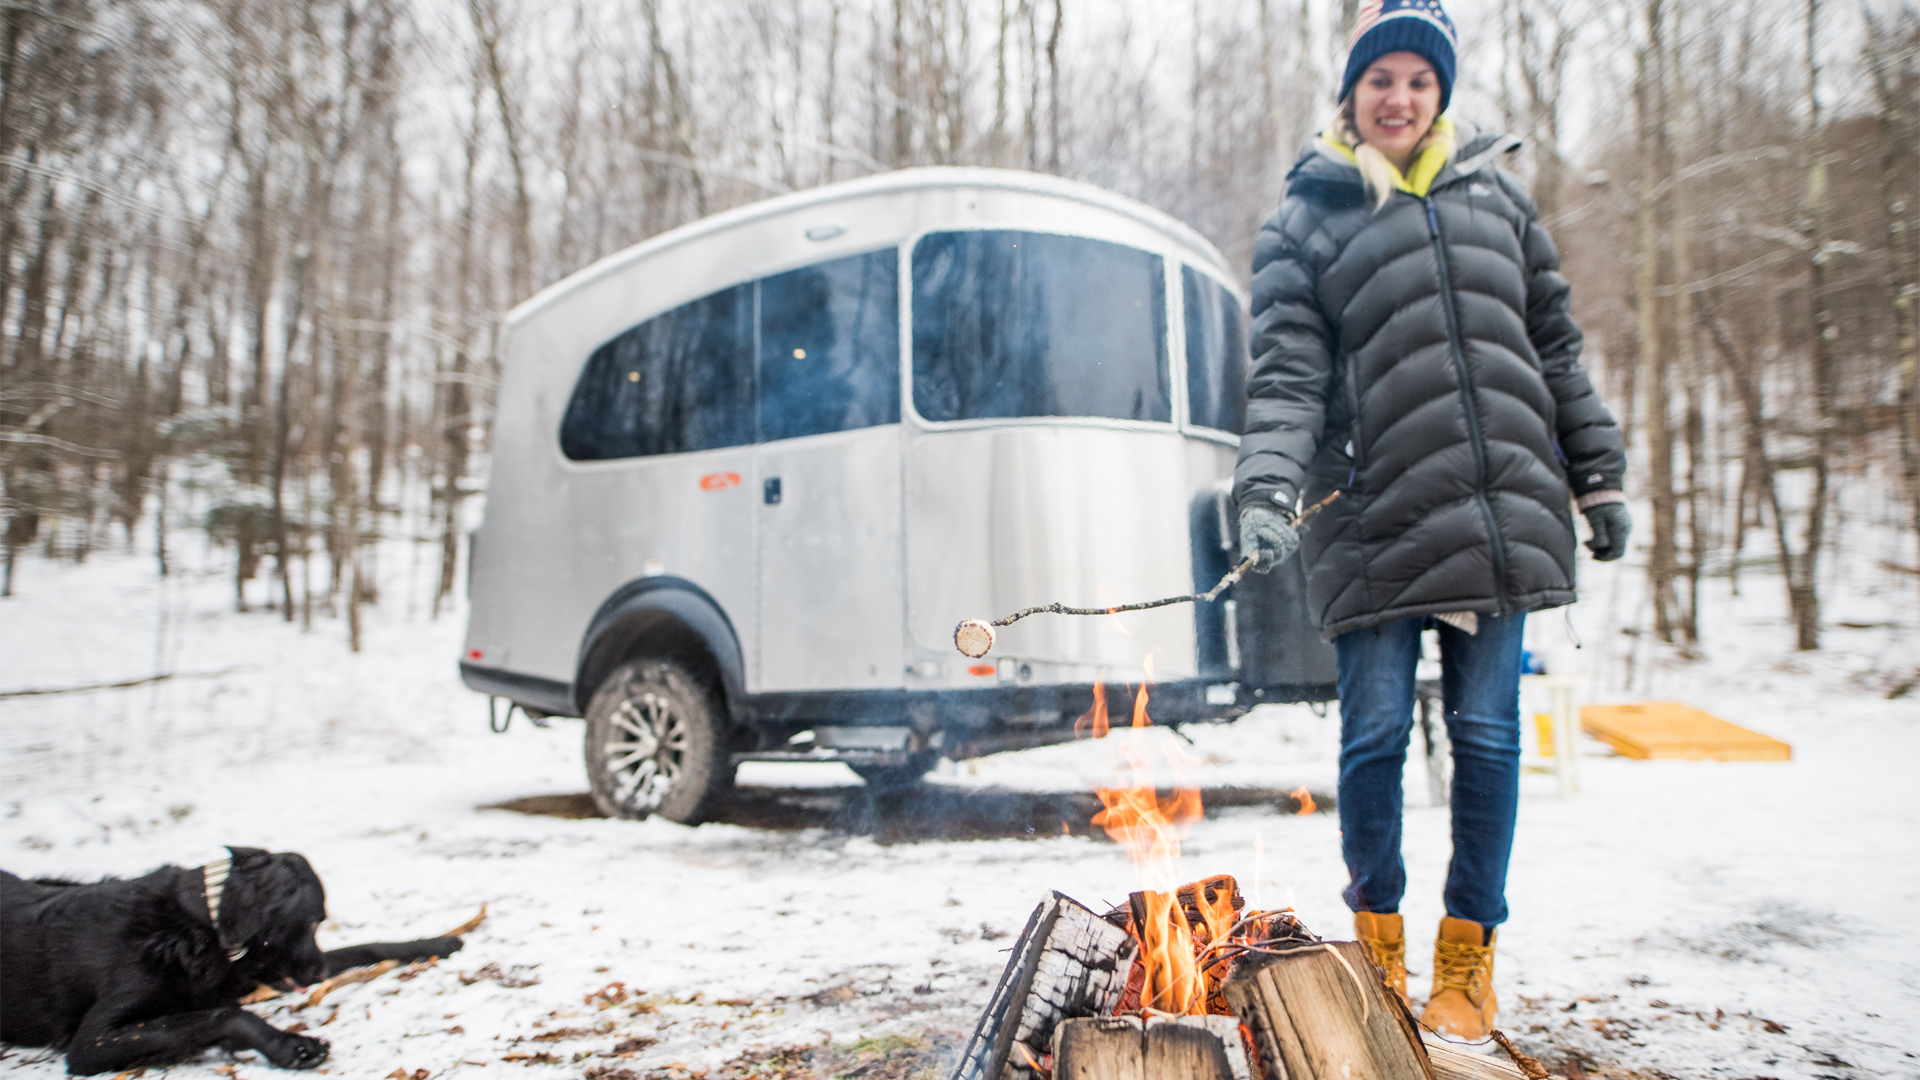
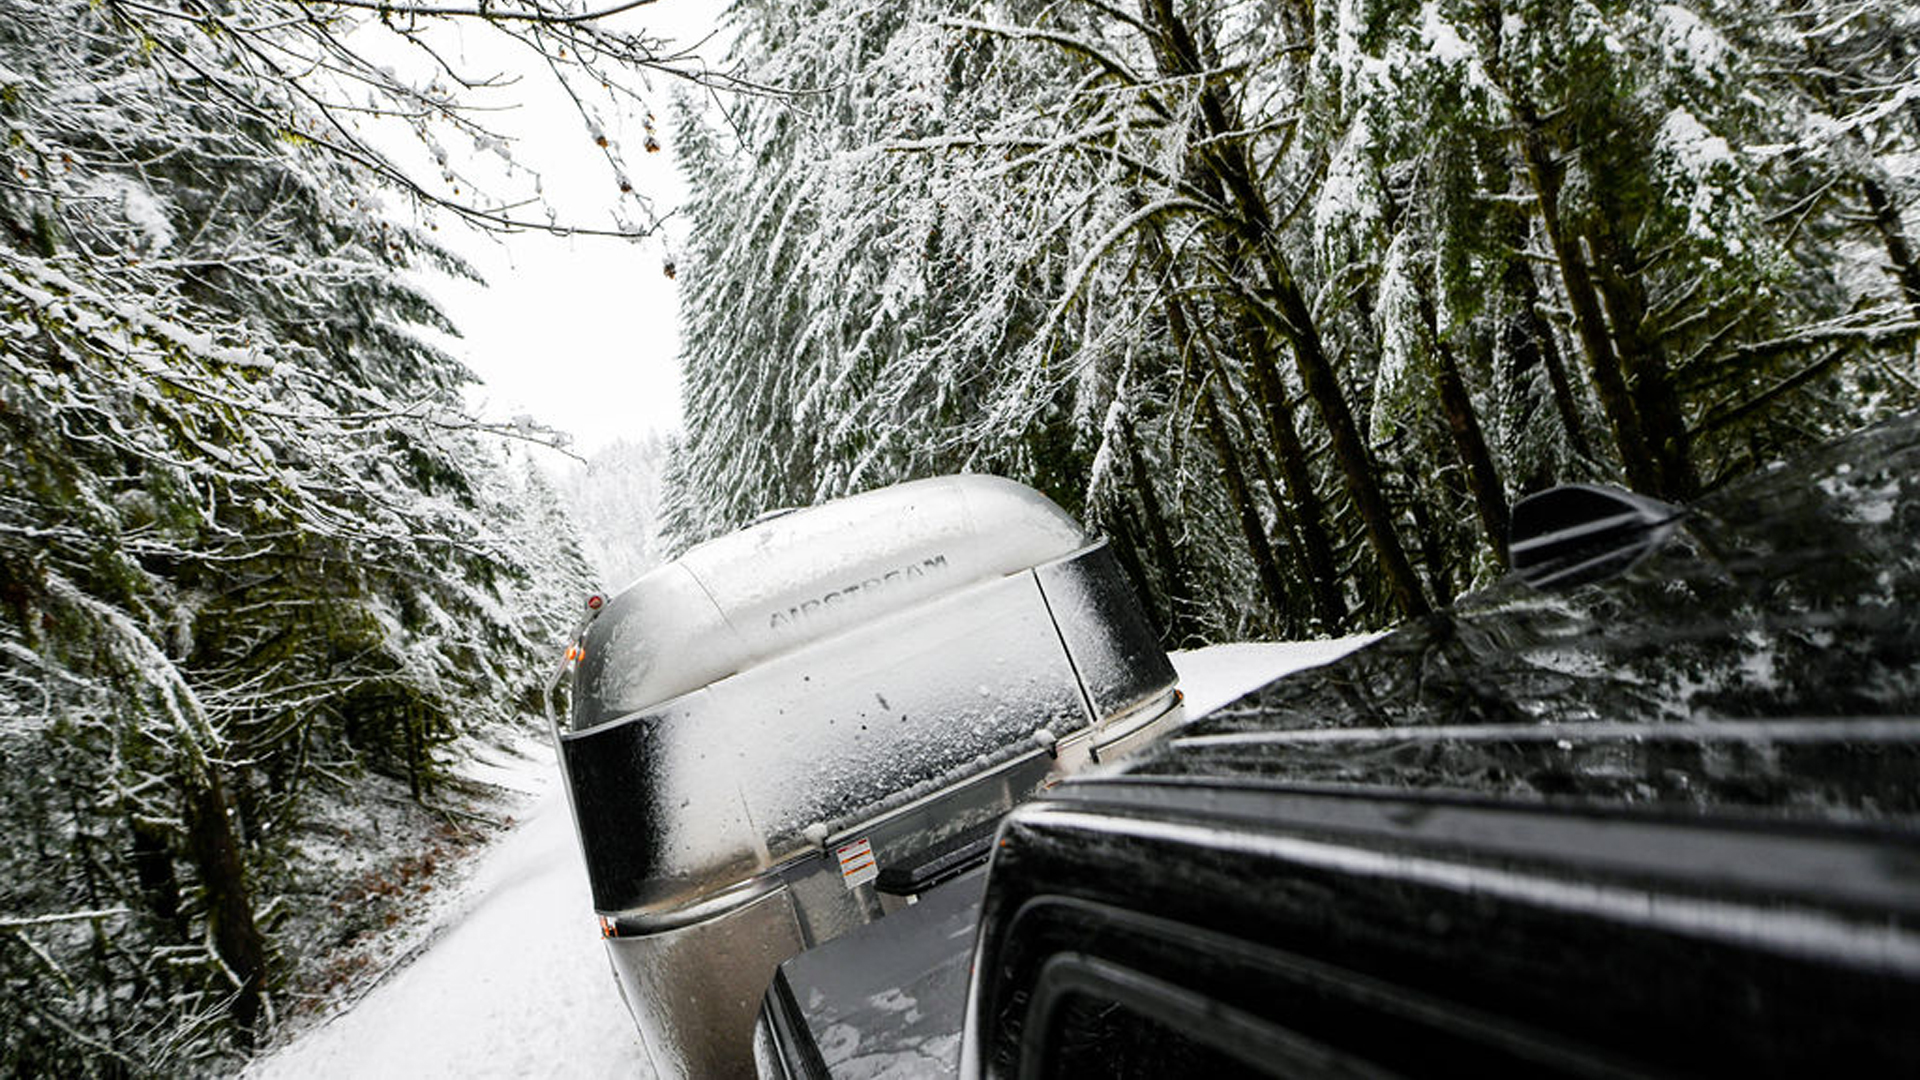
Many Airstreamers love winter camping. Although Airstream recreational vehicles are not built for four-season travel, with extra equipment, a few procedural changes, and a healthy amount of gumption, winter camping can be fun and fruitful. We’ve talked to many Airstreamers – including several from our Airstream Ambassador group – about the best practices for winter camping, and a couple shared their experiences in one of our most popular Ask an Airstreamer webinars (now available on demand).
While your Airstream is built for taking all the comforts of home along for adventures during the warmer months, camping in freezing temperatures can result in major headaches and maintenance issues – even when all recommendations are heeded and procedures are conducted perfectly. Just a few drops of water in your Airstream’s plumbing, inside the water heater or water pump, or sloshing in one of your holding tanks can cause damage when temperatures drop below zero – damage that could require costly repairs.
That being said, if you’re one of the adventurous ones who want to try your hand at winter camping, your best bet is to familiarize yourself with the procedures and techniques that have worked for others. From blogs to videos to tips and tricks, we’ve got plenty of resources to help you get started:
- How to Take a Winter Camping Trip: Eight tips and tricks for making the most of snowy camping.
- Ask an Airstreamer: Winter Camping 101: One of the most popular episodes of our Ask an Airstreamer webinar series.
- The Airstream Guide to Winter Camping Adventures: A free, downloadable guide to hitting the road in winter.
- A First-Hand Account of Airstreaming in the Winter: Our friends Danielle and Ryan hit the road in a four-part winter camping blog series
- Best Winter Camping 2021: Great campgrounds, advice, and more
- Staying Safe and Cozy During Winter Travel: Tips and advice to help your winter camping trip go off without a hitch.
Winterization: Prepping Your Airstream for Winter Hibernation
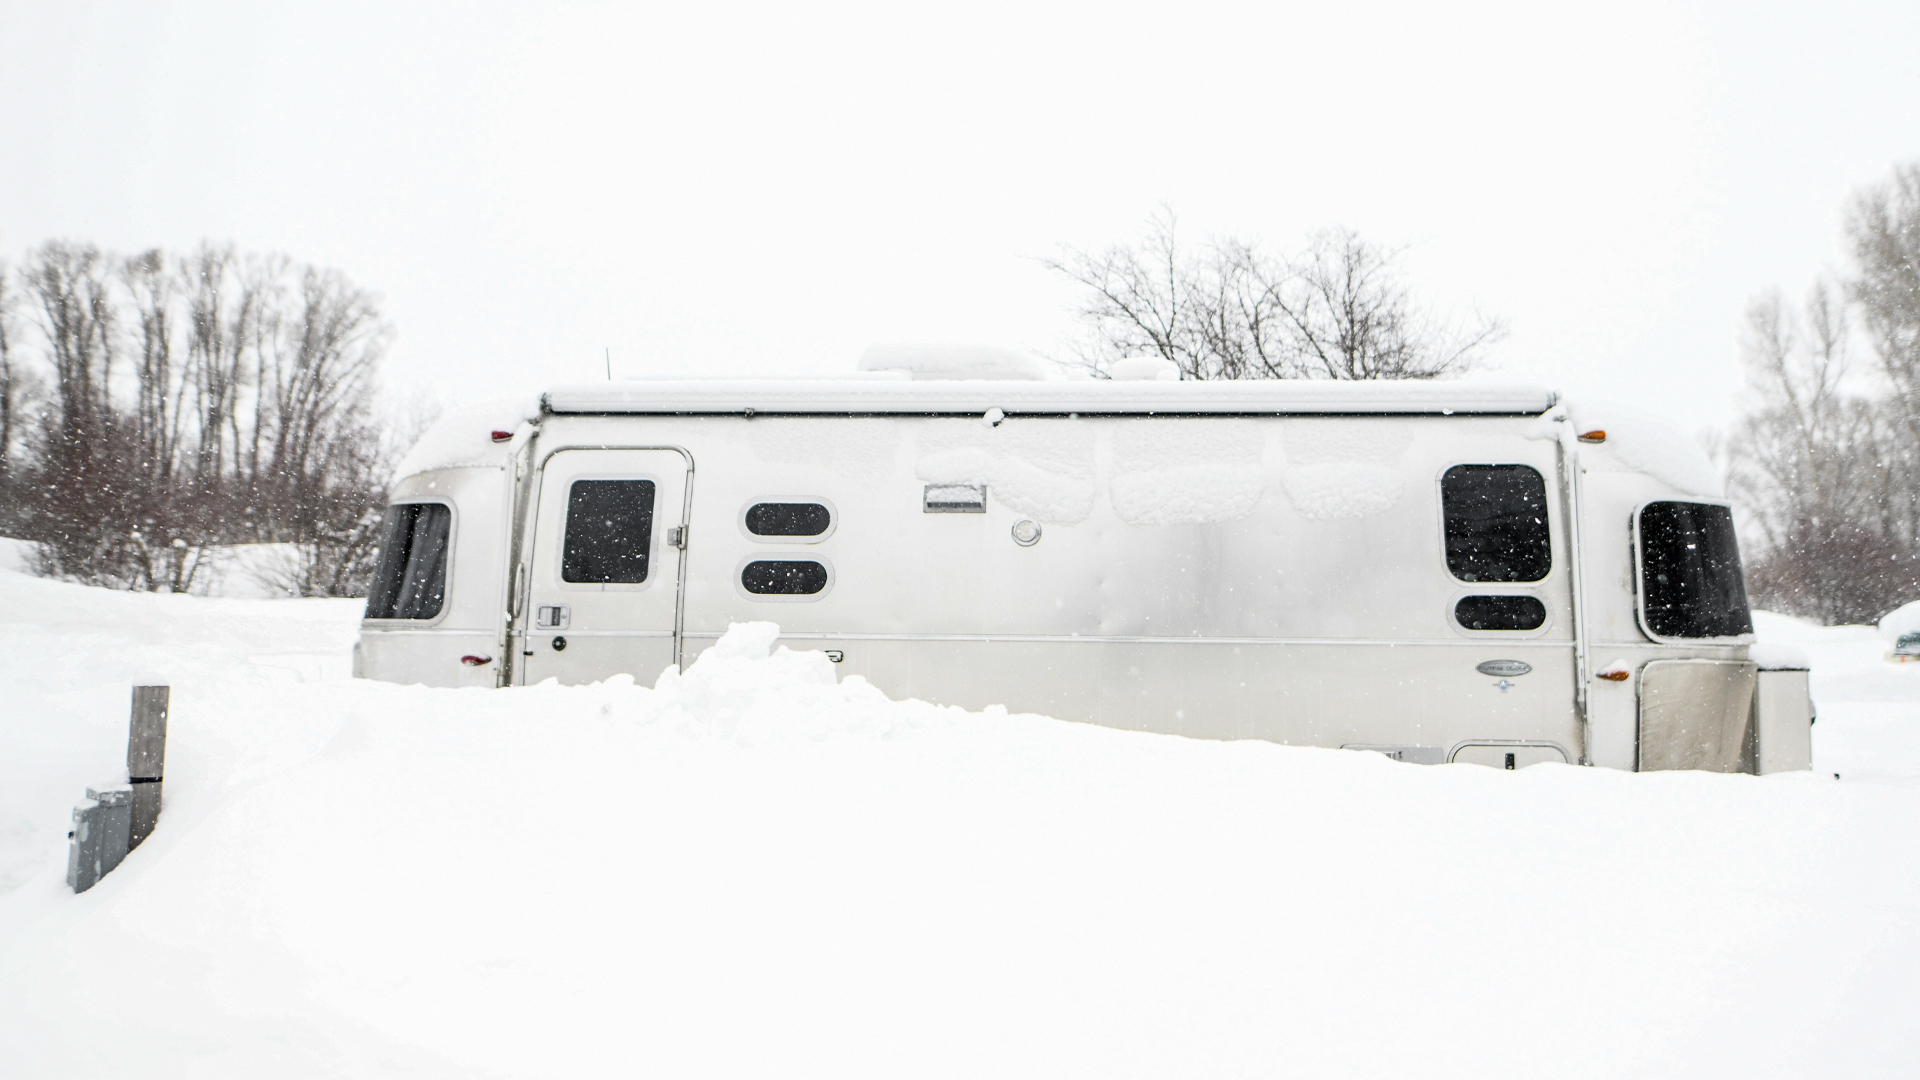
While winterization of an Airstream involves removing all the water from its plumbing, winterization also involves several other important procedures – wheel and tire care, battery and propane tank maintenance, and other essential practices – that prepare your RV for a long winter slumber.
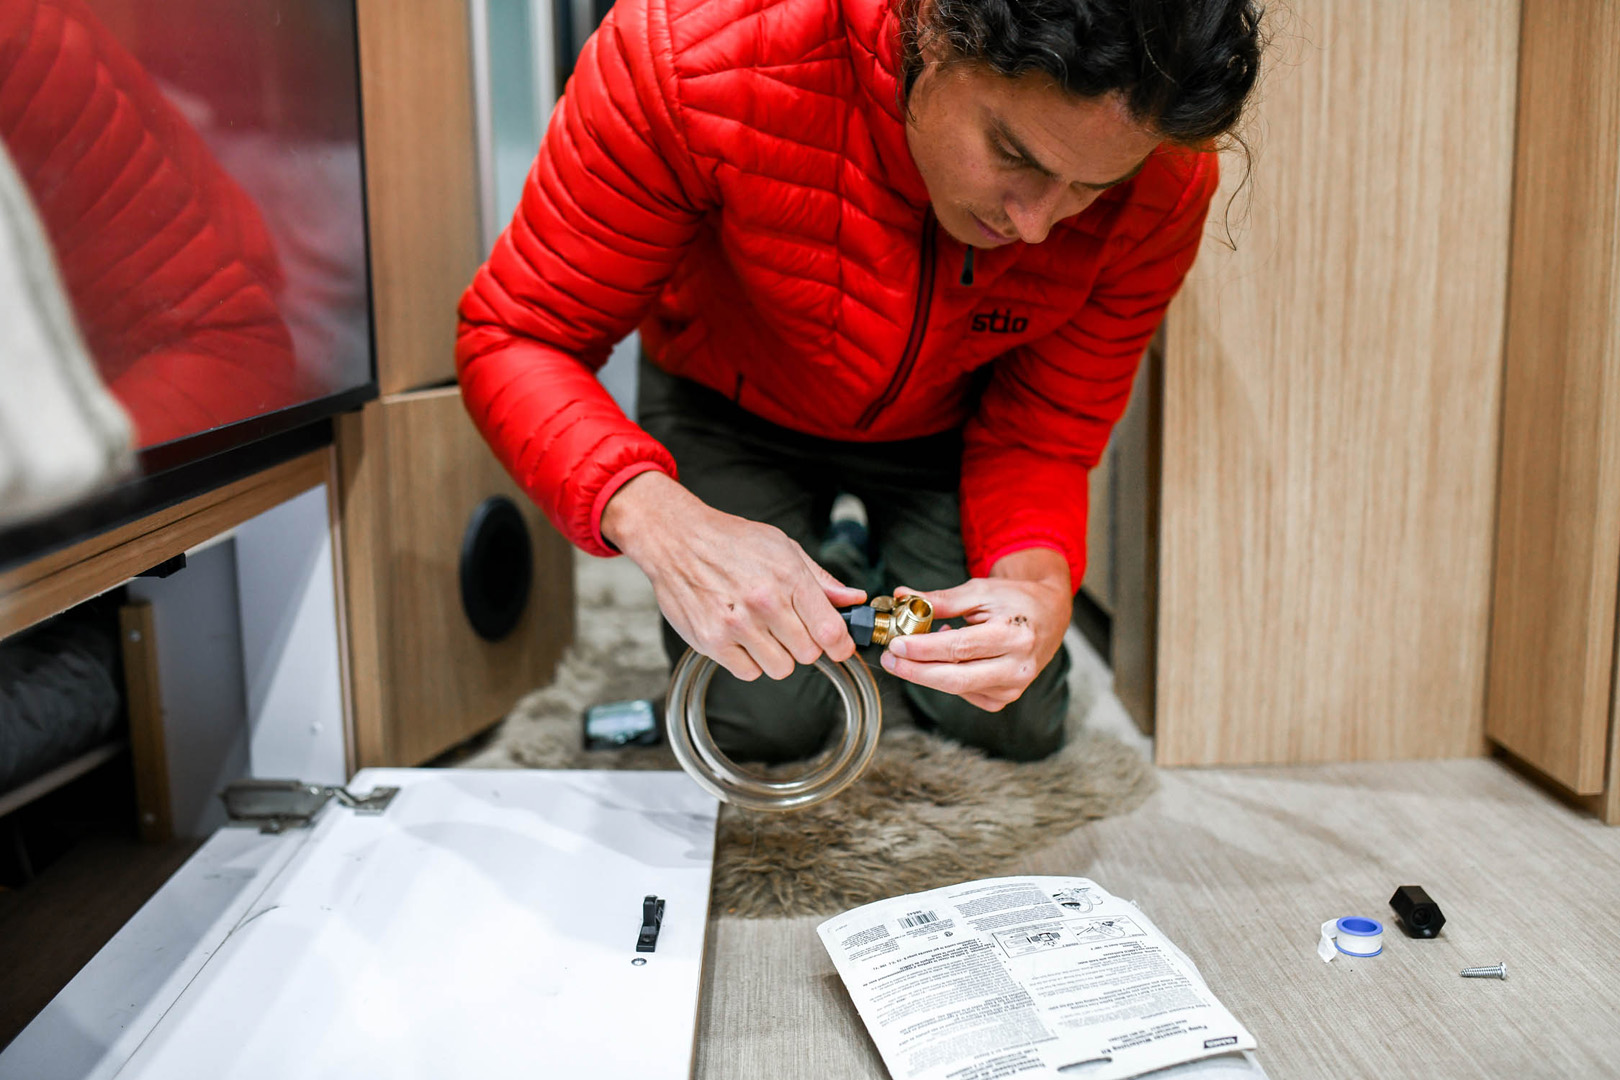
Winterization begins with draining all the water out of the system. Some combination of using an air compressor to blow water out and flushing the system with non-toxic RV antifreeze is essential to this process. Airstream Supply Company has many of the products you need to properly winterize your RV. You can also take your Airstream to your nearest dealer for this essential service.
But if you want to try your hand at winterization yourself, beyond dealing with the water in your Airstream, you’ll also need to:
- Shut off propane tanks
- Protect your tires: Clean, inflate, and cover
- Maintain your 7-pin connector by applying dielectric grease that prohibits corrosion
- Defrost and prep the fridge and freezer
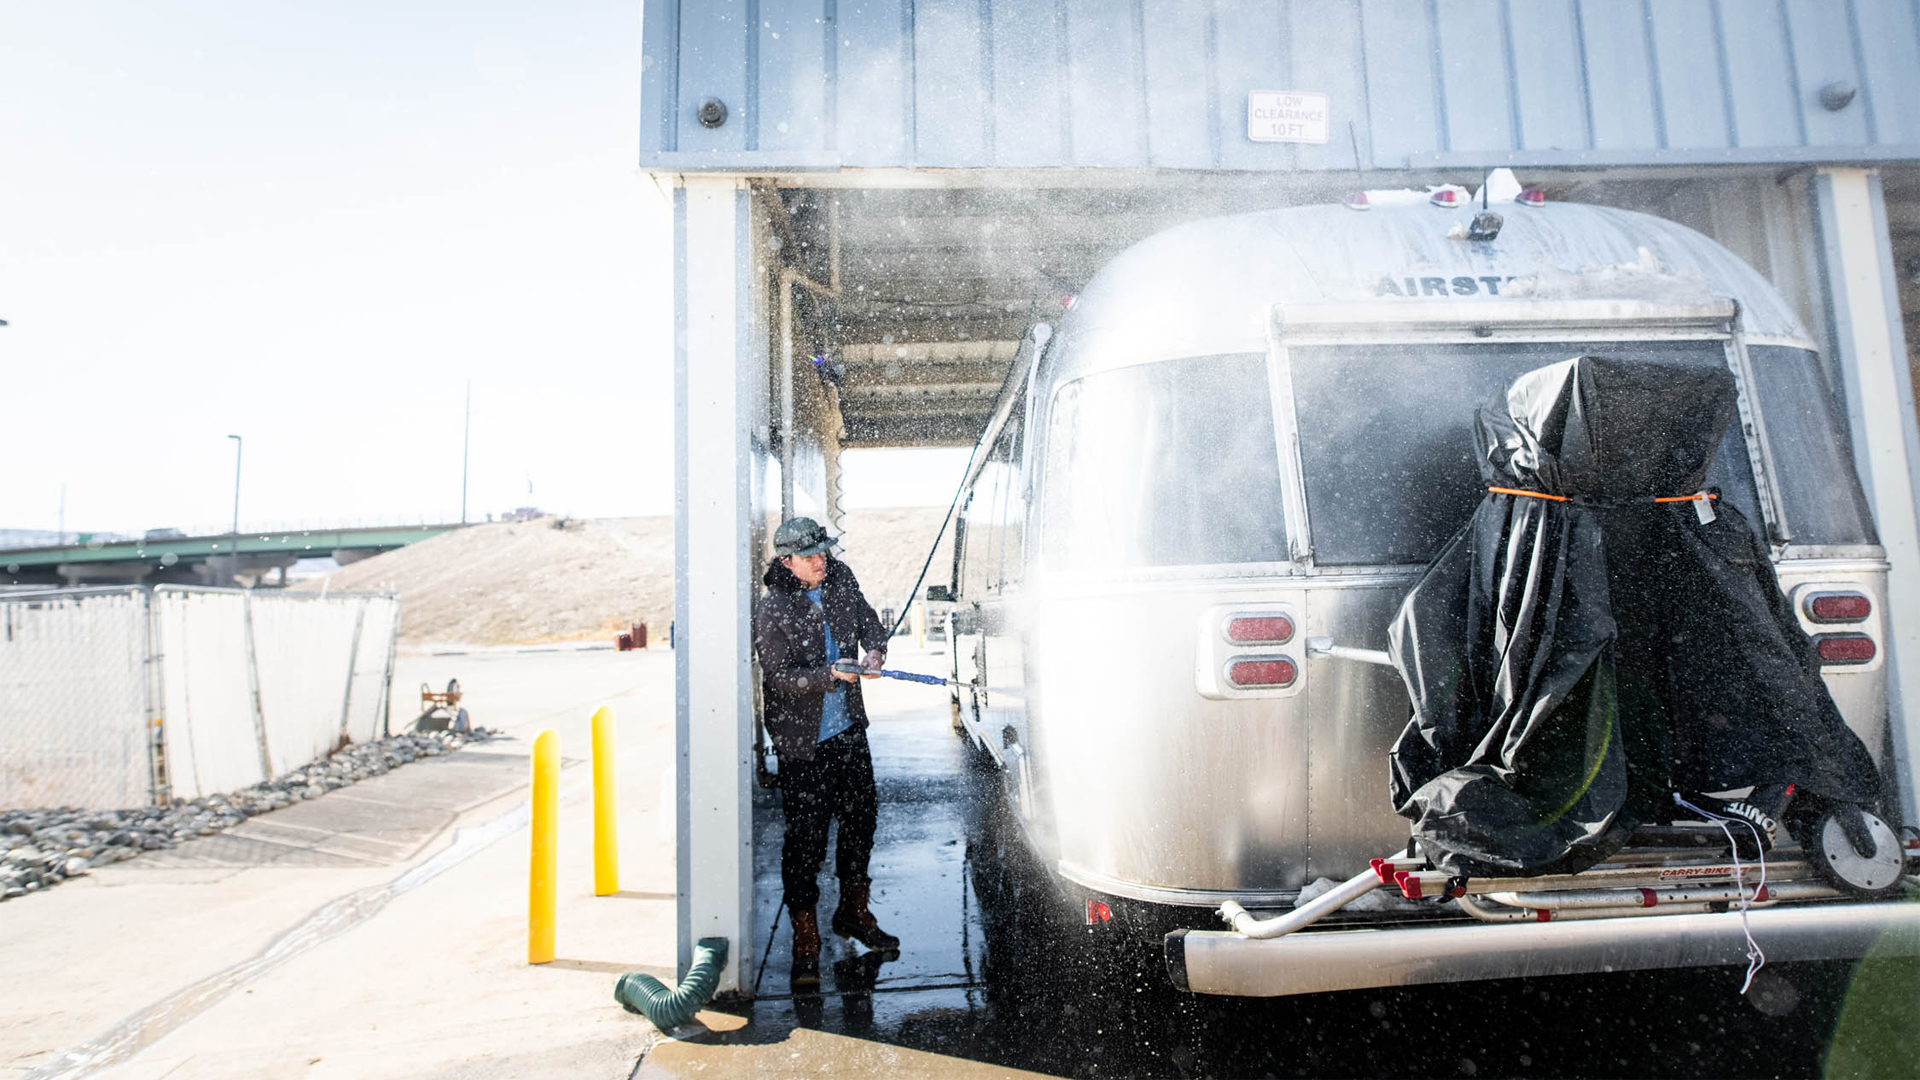
- Wash the exterior and inspect for damage
- Lubricate all joints, stabilizers, and gears
- Remove batteries (or apply a trickle charger to maintain battery power)
- Take any precautions necessary to prevent pests
For more information on winterization (including a step-by-step procedure) check out our guide to winterizing your Airstream, or watch our two-part Ask an Airstreamer webinar installment on winterization:
Storage: Putting Your Silver Bullet to Bed for the Winter
As hard as it can be to say goodbye for another year, putting your RV in storage is an annual rite of passage for most Airstreamers who live in colder latitudes. But what’s the best storage for your Airstream? There are many different options that may vary considerably depending on what’s available locally. Your best bet is to ask fellow Airstreamers and RVers where they store their units during the winter. Or simply start calling around – if one place is full, ask them for further recommendations until you find the perfect spot. Often you'll get the best recommendations from the folks who know the ins and outs of the local storage landscape.
Garage and Climate Controlled Storage
The most costly option for Airstream storage, covered storage in a garage is also the most effective method for preserving your investment. Roll up the garage door and back your travel trailer or touring coach into the building – it’s almost that easy. Often, garage-style storage units include conveniently located power so it’s easy to plug in a trickle charger to help keep your batteries topped off.
Sometimes these garage storage units are climate-controlled, offering the ultimate protection for your Airstream. With a roof overhead, heating, and other conveniences to protect your Airstream, you don’t have to worry about snow, rain, and hail. With a roll-up, lockable garage door you can rest easy knowing your investment is protected and safe: Pests and vandals are much less likely to interfere when you’ve got your Airstream tucked away inside a locked garage.
Covered Storage
By far the most common method of storage under a roof, covered storage offers great protection at a more affordable cost than a fully-covered garage or climate-controlled option. Covered spots can vary from site to site, but at the minimum offer a roof overhead to protect from the elements. Sometimes they offer “three-sided storage” with a roof overhead and walls that protect on either end – though often these types of sites slot a whole row of RVs next to each other under a long, covered roof.
While these types of spots offer less protection than a fully enclosed garage, three-sided storage is preferable to simply leaving your Airstream exposed to the elements. Usually, these types of spots are inside a locked gate and fence, offering additional protection. Some ingenious Airstreamers even set up their own covered storage in their side yard or next to the house, adding power options and creating an impromptu site to enjoy their Airstream while not out on an adventure.
More Safety and Security Procedures and Products
Depending on your storage setup, you may want to add extra precautions to ensure your Airstream remains safe and sound during its winter slumber. Tire covers protect the soft rubber of your tires from rain, snow, and sun. A final wash and a coat of protectant can do wonders in keeping your Airstream shiny come next season. Adding a trickle charger with a solar panel can help keep your batteries healthy and topped off.
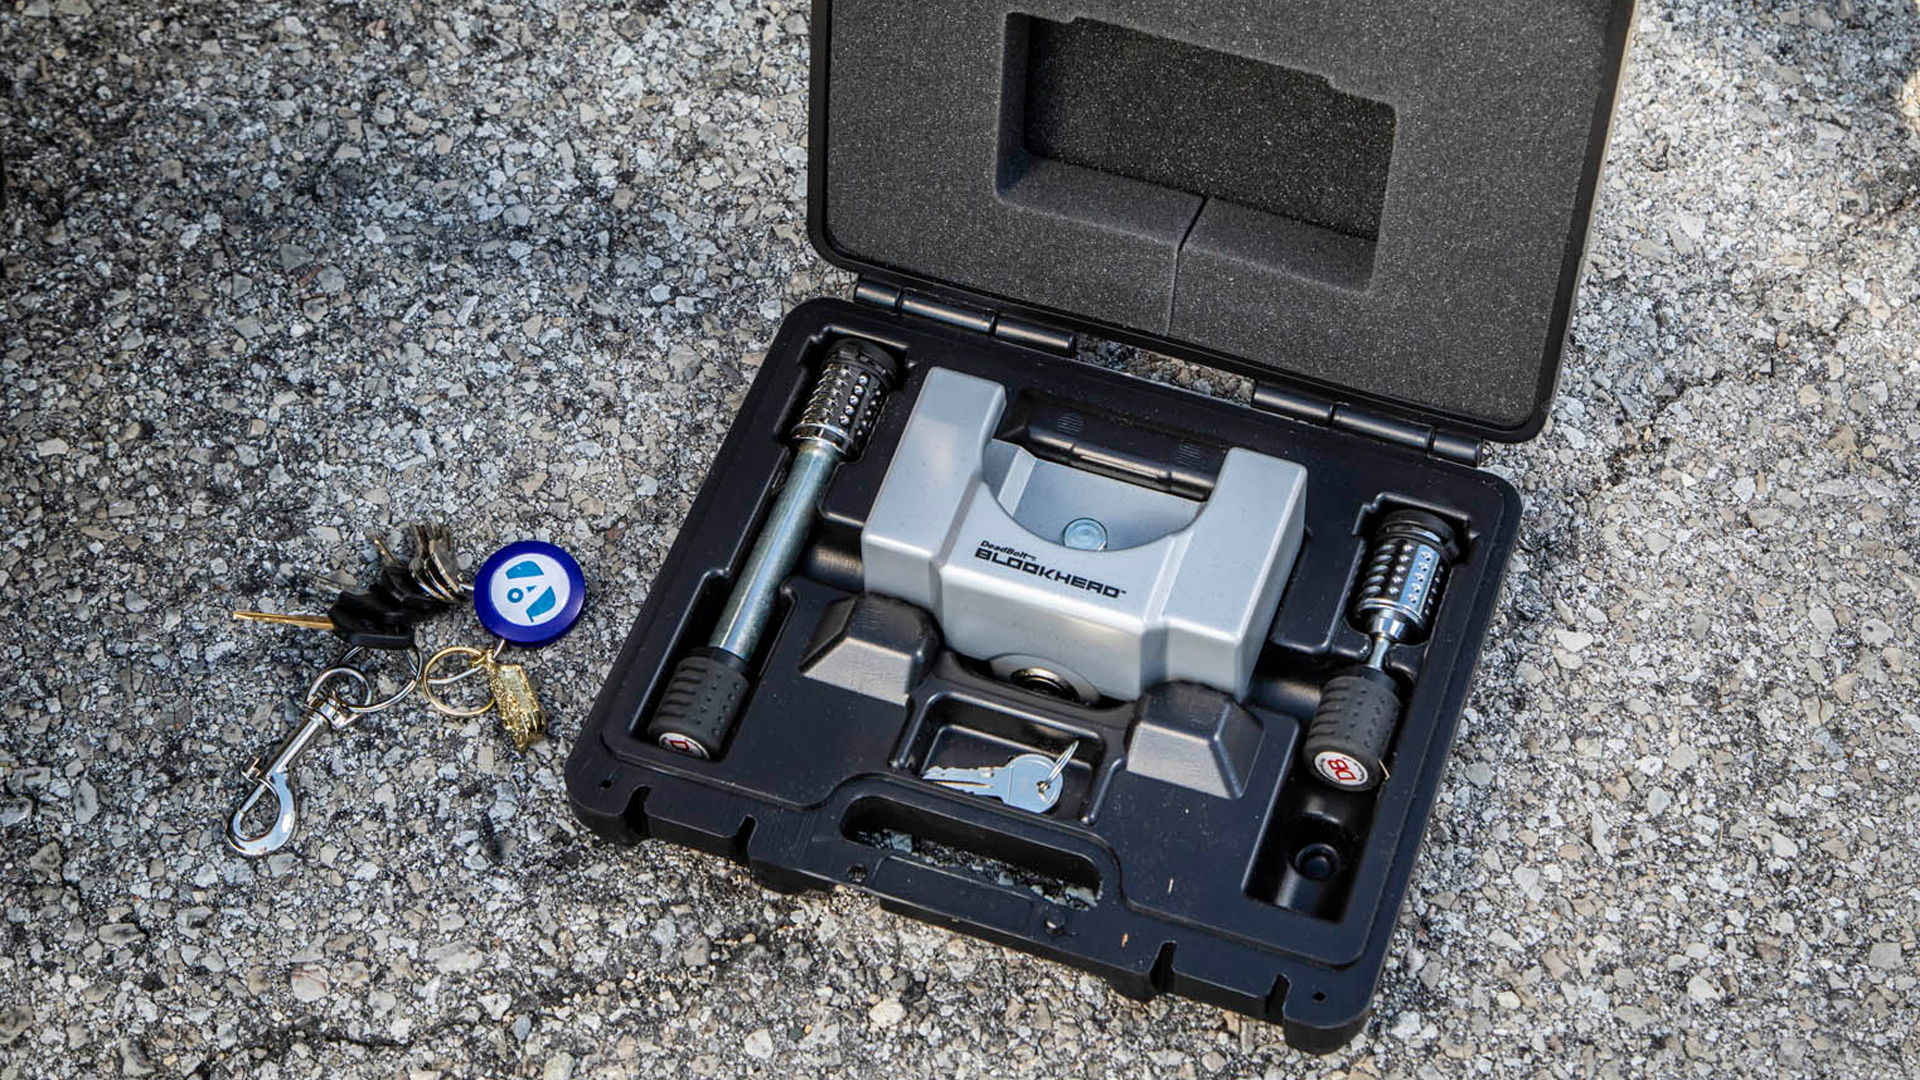
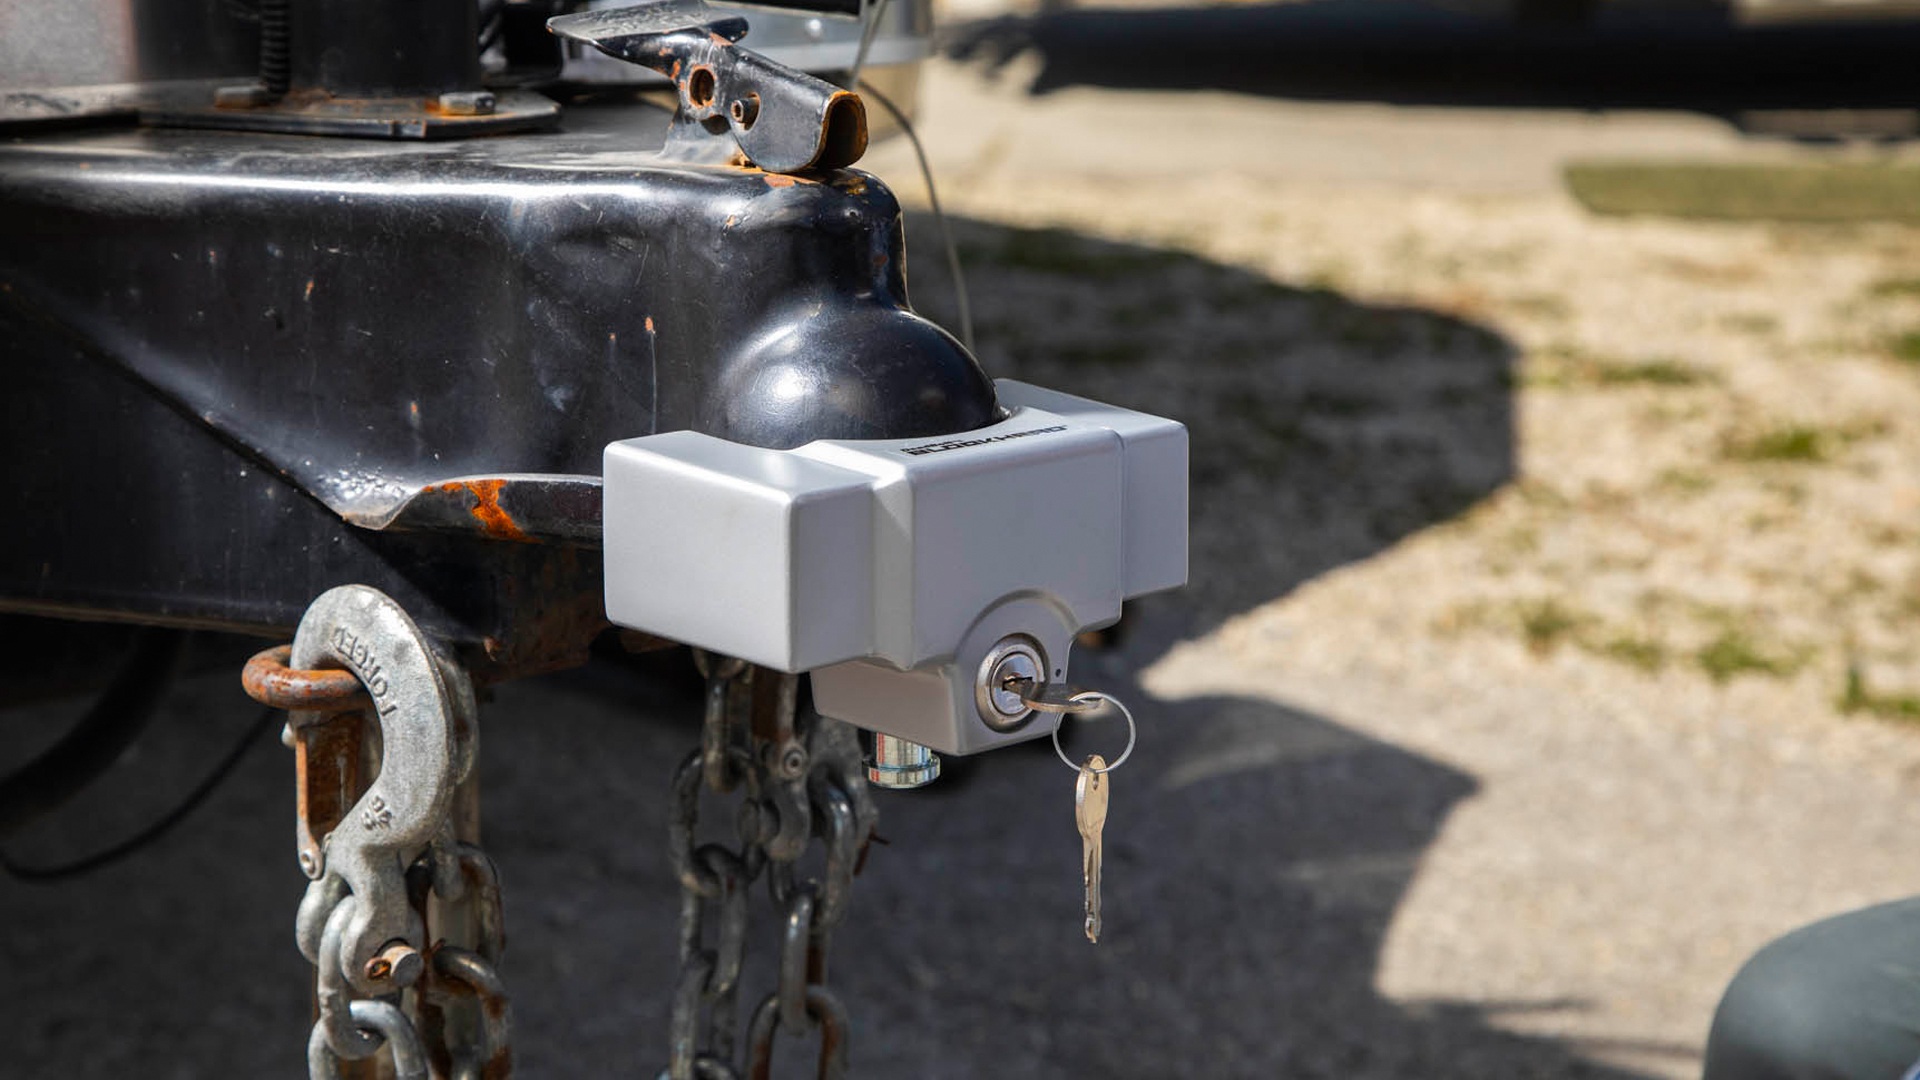
For even more protection, add one of our Airstream Anti-Theft Lock Kits to your arsenal for an extra layer of security. Perfect for protecting your Airstream both while in storage and when you leave it behind in the campsite to hit the trail, our Lock Kits feature three different Airstream-approved locks – for the hitch coupler, the latch, and the hitch receiver. These kits are the perfect way to get peace of mind knowing that your Airstream is safe and sound. The kit includes a custom-molded storage box for all three locks that easily stows in your Airstream storage compartment.
What’s Included:
- Trailer Coupler Lock: Secures to your coupler and prevents the coupler from attaching to a hitch ball.
- Hitch Lock: Replaces a standard hitch receiver pin with a locking mechanism that prevents removal of the hitch.
- Trailer Coupler Latch Lock: Prevents the latch lock from moving, adding an extra layer of protection.
Safe and Sound Until Next Year Comes Around
Winterizing your Airstream and storing it for the winter doesn’t have to be a chore, and it’s an easy procedure that you can do yourself. Take it from hundreds who have gone before you: The time you put in now as you prepare your Airstream for storage will pay dividends in the spring. Get a jump on next season – start thinking about winterization, storage, and security now.
Want more great advice about what to do when winter strikes – and just about any other question you might have about your Airstream? Check out our all-new Airstream Support site, featuring tips, tricks, advice, and answers for every question you might have.

